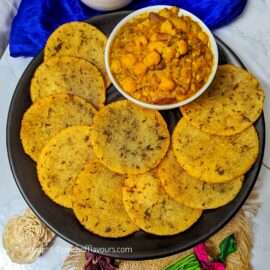
Instant Wheat Dosa | Easy Godhuma Dosa | Atta Dosa| Instant wheat flour dosaLooking for a wholesome and instant breakfast recipe option? Our quick and easy Instant Wheat Dosa recipe is just what you need! Packed with nutrition and bursting with flavors, this dosa will satisfy your taste buds and keep you energized throughout the day. Follow our step-by-step guide to make this delectable dish in no time!
Those who like Vegan & Vegetarian recipes can join my Facebook group World Best Vegetarian & Vegan Recipes.
Those of you who have been reading our blog for some time already know that we make videos for each recipe on our YouTube channel.
At the end of this post is a recipe card and a disclosure of Amazon affiliate links.
Sharing is caring! LET’S BE FRIENDS ON PINTEREST! WE’RE ALWAYS PINNING TASTY RECIPES!
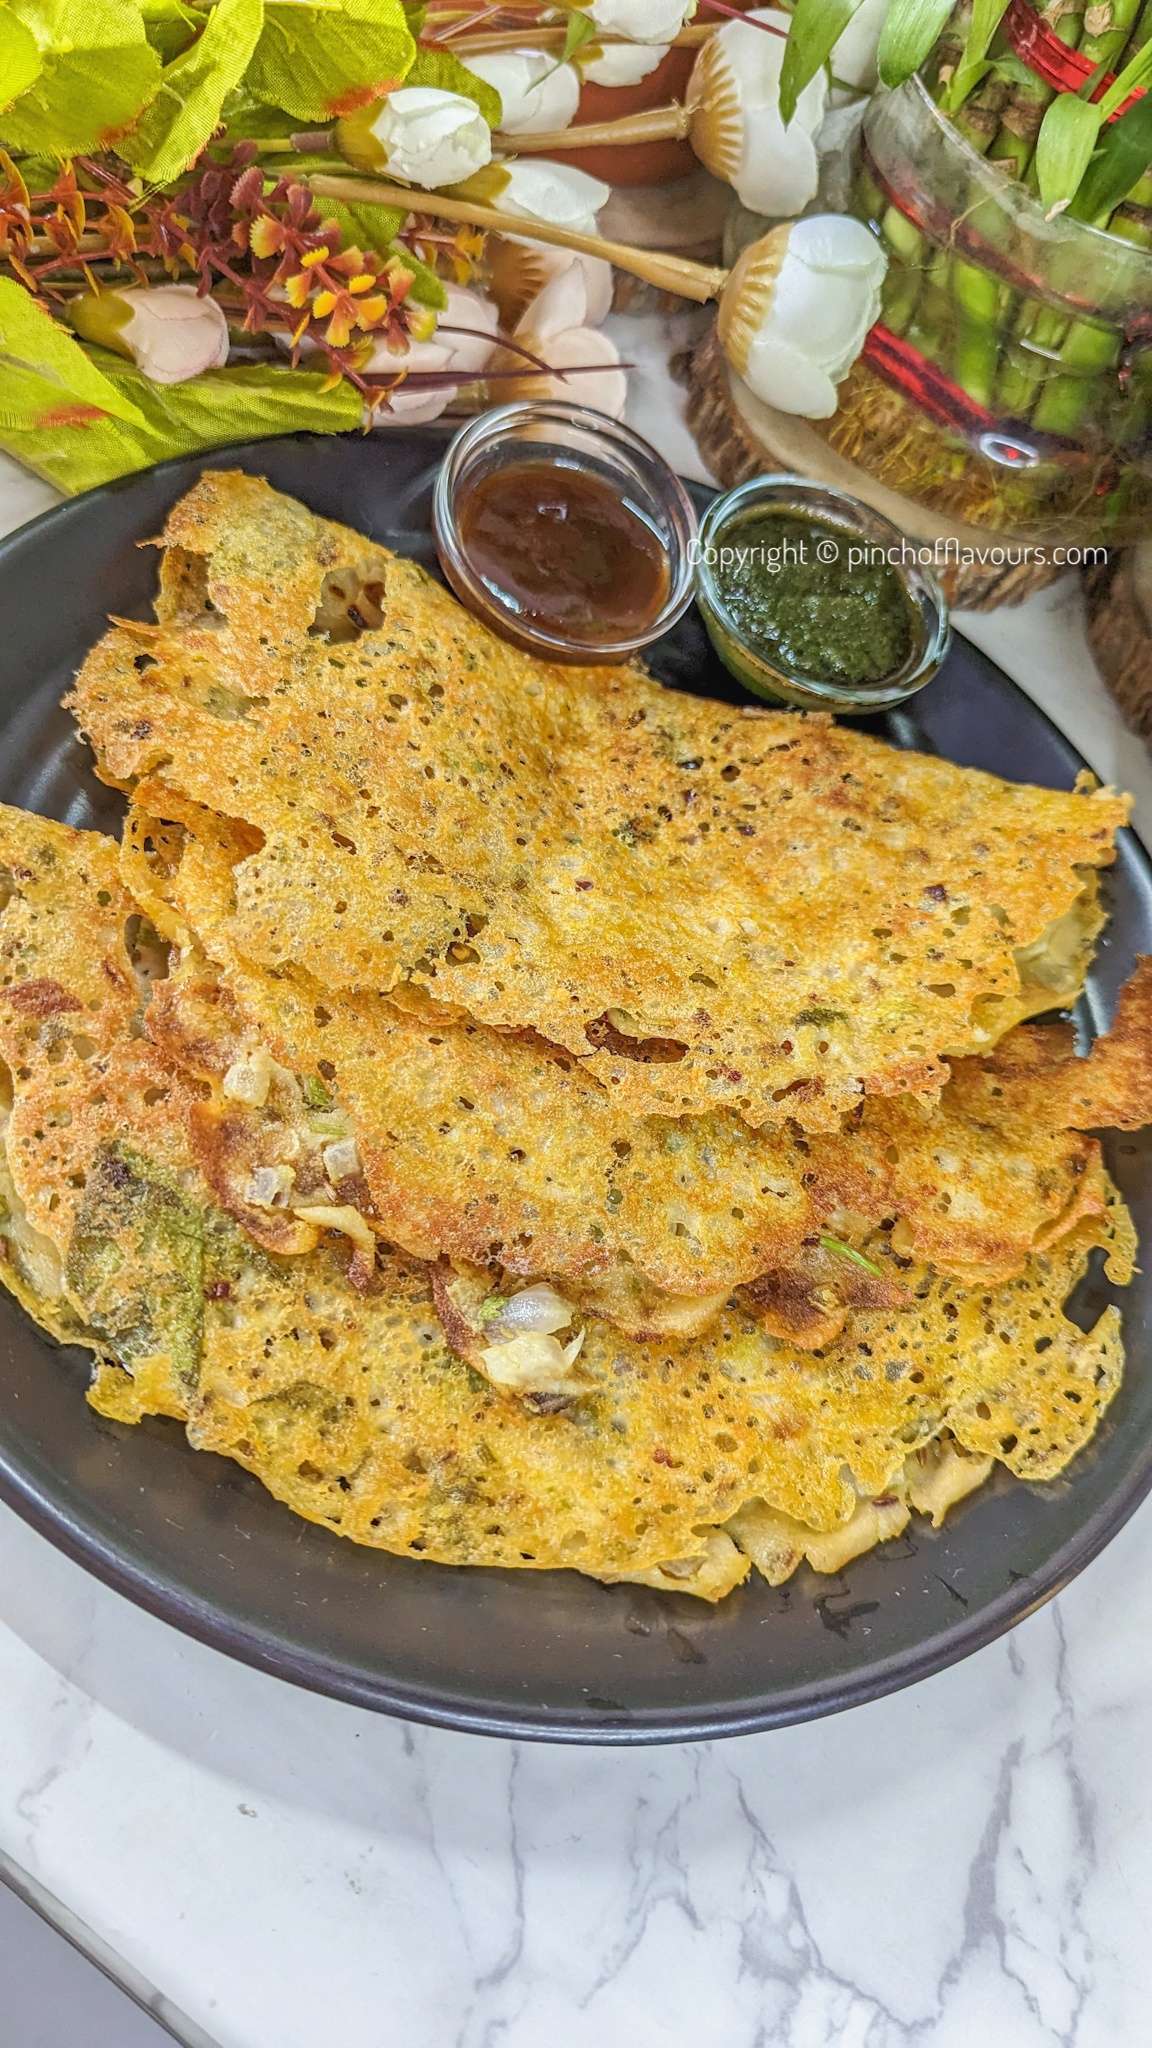
About Wheat Dosa | Easy Godhuma Dosa | Atta Dosa |Instant wheat flour dosa
Wheat dosa is a popular and healthier alternative to traditional rice-based dosa. Made with whole wheat flour, this dosa variation is not only nutritious but also adds a delightful nutty flavor to your breakfast. It’s an excellent choice for those looking to incorporate more whole grains into their diet or for those with gluten sensitivity.
The recipe for wheat dosa is incredibly simple and requires minimal ingredients. The combination of whole wheat flour, rice flour, and semolina creates a batter that is easy to spread and results in a thin and crispy dosa. The addition of yogurt adds a slight tanginess and helps in fermenting the batter, enhancing its taste and texture.
Preparing wheat dosa is a breeze. Once the batter is mixed, it is left to rest for a short while to allow the flour to absorb the moisture. This step contributes to a better texture and ensures the dosa cooks evenly. The batter is then spread onto a hot skillet or dosa tawa, cooked until golden brown, and served piping hot with your favorite chutneys, sambar, or a side of your choice.
What makes wheat dosa a popular choice is its versatility. It can be enjoyed not only for breakfast but also as a light lunch or dinner option. Its wholesome nature, combined with the ease of preparation, makes it a go-to dish for those busy mornings or when you crave a quick and nutritious meal.
Whether you follow a gluten-free diet, prefer whole grains, or simply want to try something new, wheat dosa is a fantastic addition to your culinary repertoire. It offers a healthier twist to the classic dosa while still delivering on taste, making it a win-win for both your palate and your well-being. So, give this recipe a try and savor the delightful flavors of wheat dosa!
Ingredients
- 1 cup – Whole wheat flour
- 1/2 cup – Rice Flour
- 1 tablespoon – Yogurt plain or vegan
- 2 cups – Water or add as required
- 5 to 6 – Chopped curry leaves
- 2 tablespoons – Sooji/ Semolina
- 1 tablespoon – Jeera/Cummin seeds
- 1 medium – Sliced or chopped 1 medium onion
- ½ teaspoon – Finely chopped ginger (optional)
- 3 to 4 – Green chili chopped
- 1 pinch – Asafoetida (hing optional)
- 1 tablespoon – Red chili flakes
- ½ teaspoon – Jeera
- 1 teaspoon- Lemon juice
- 5 tablespoons – Coriander leaves chopped
- Olive Oil for frying
- Salt as required
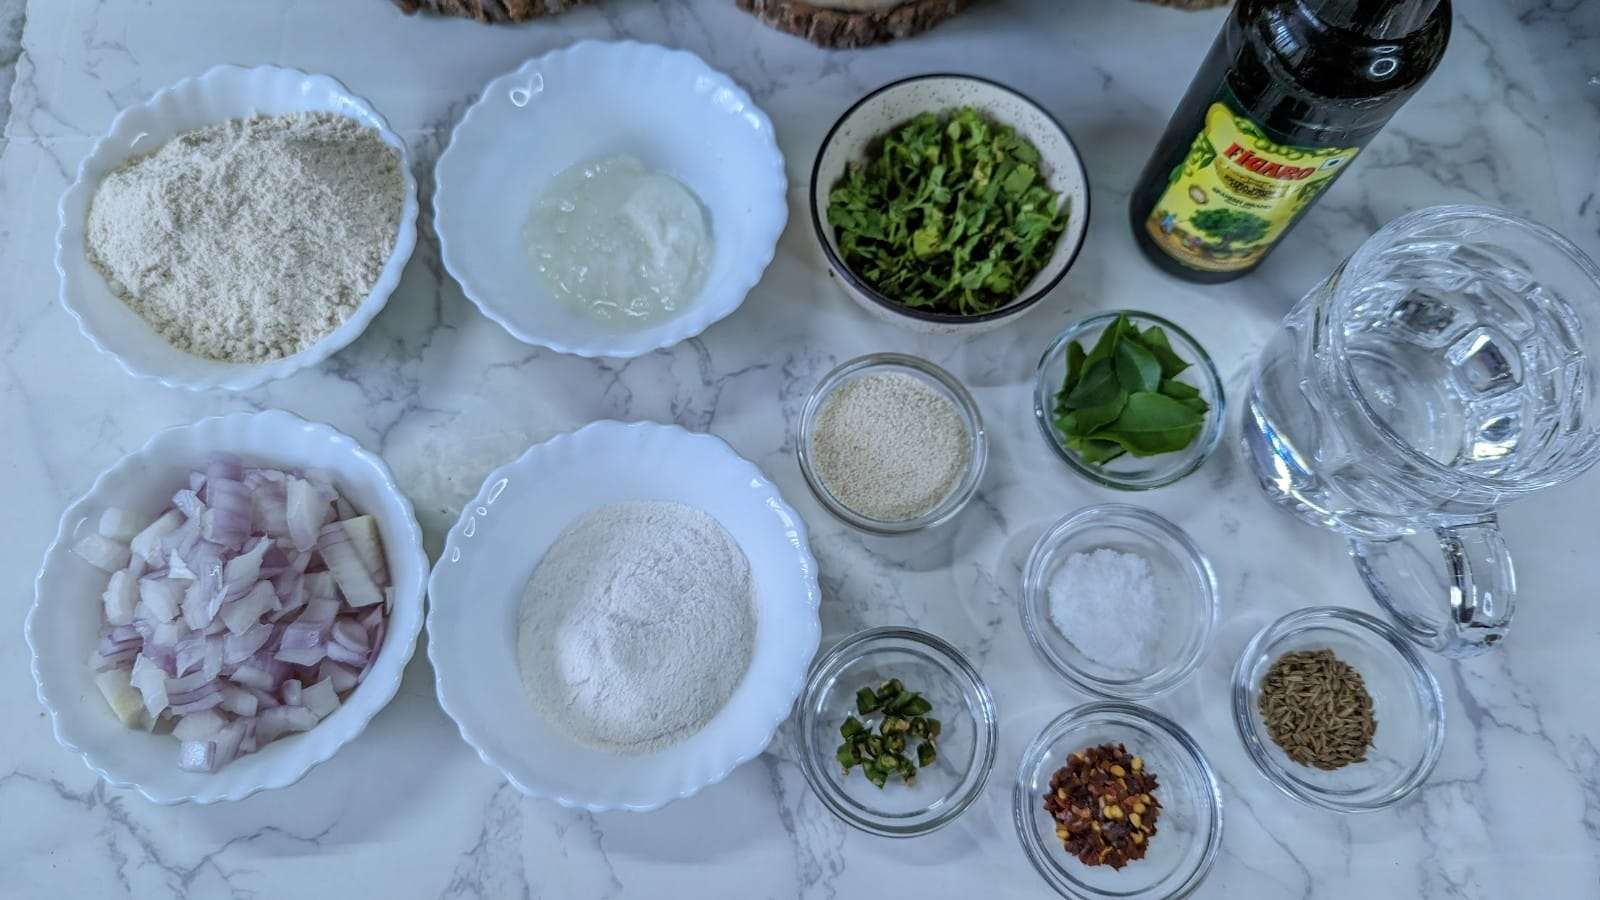
Check out the Instant Wheat Dosa | Easy Godhuma Dosa | Atta Dosa Video:
How To Make Instant Wheat Dosa Recipe Step By Step With Photo:
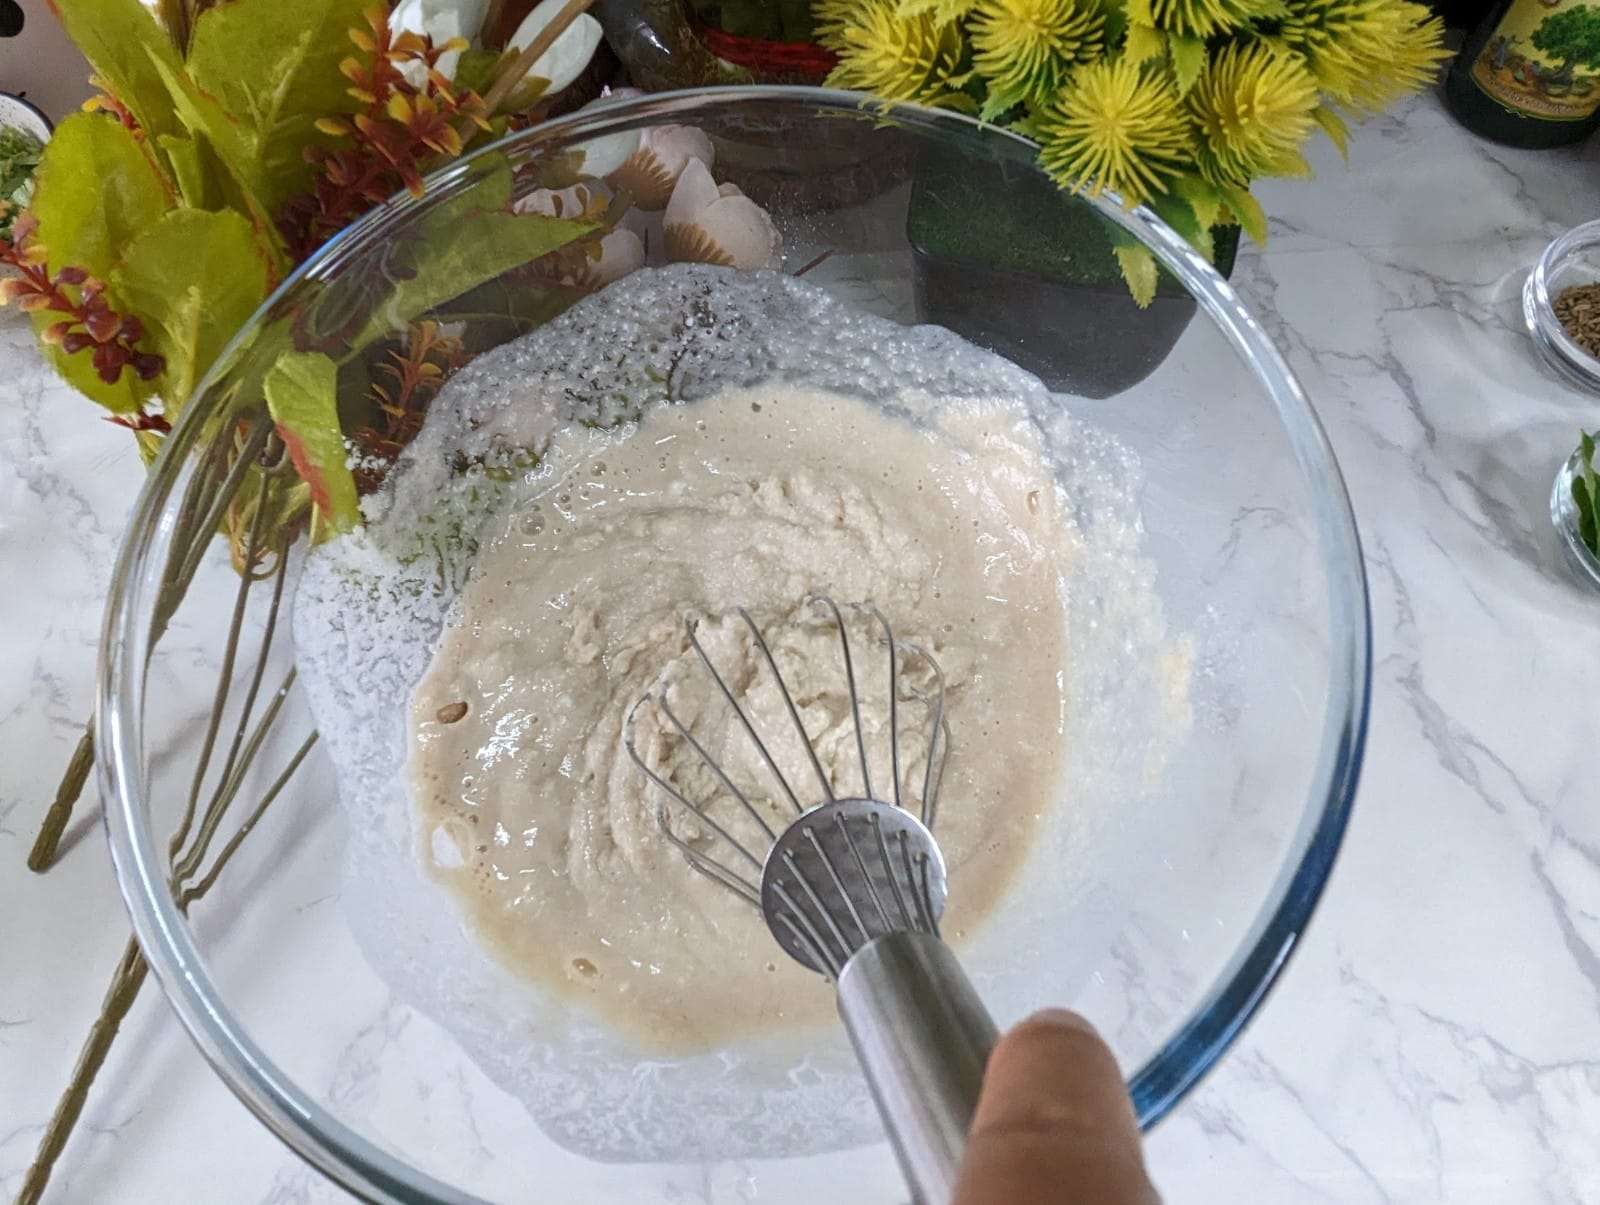
- In a mixing bowl, combine the wheat flour, rice flour, semolina (if using), and yogurt.
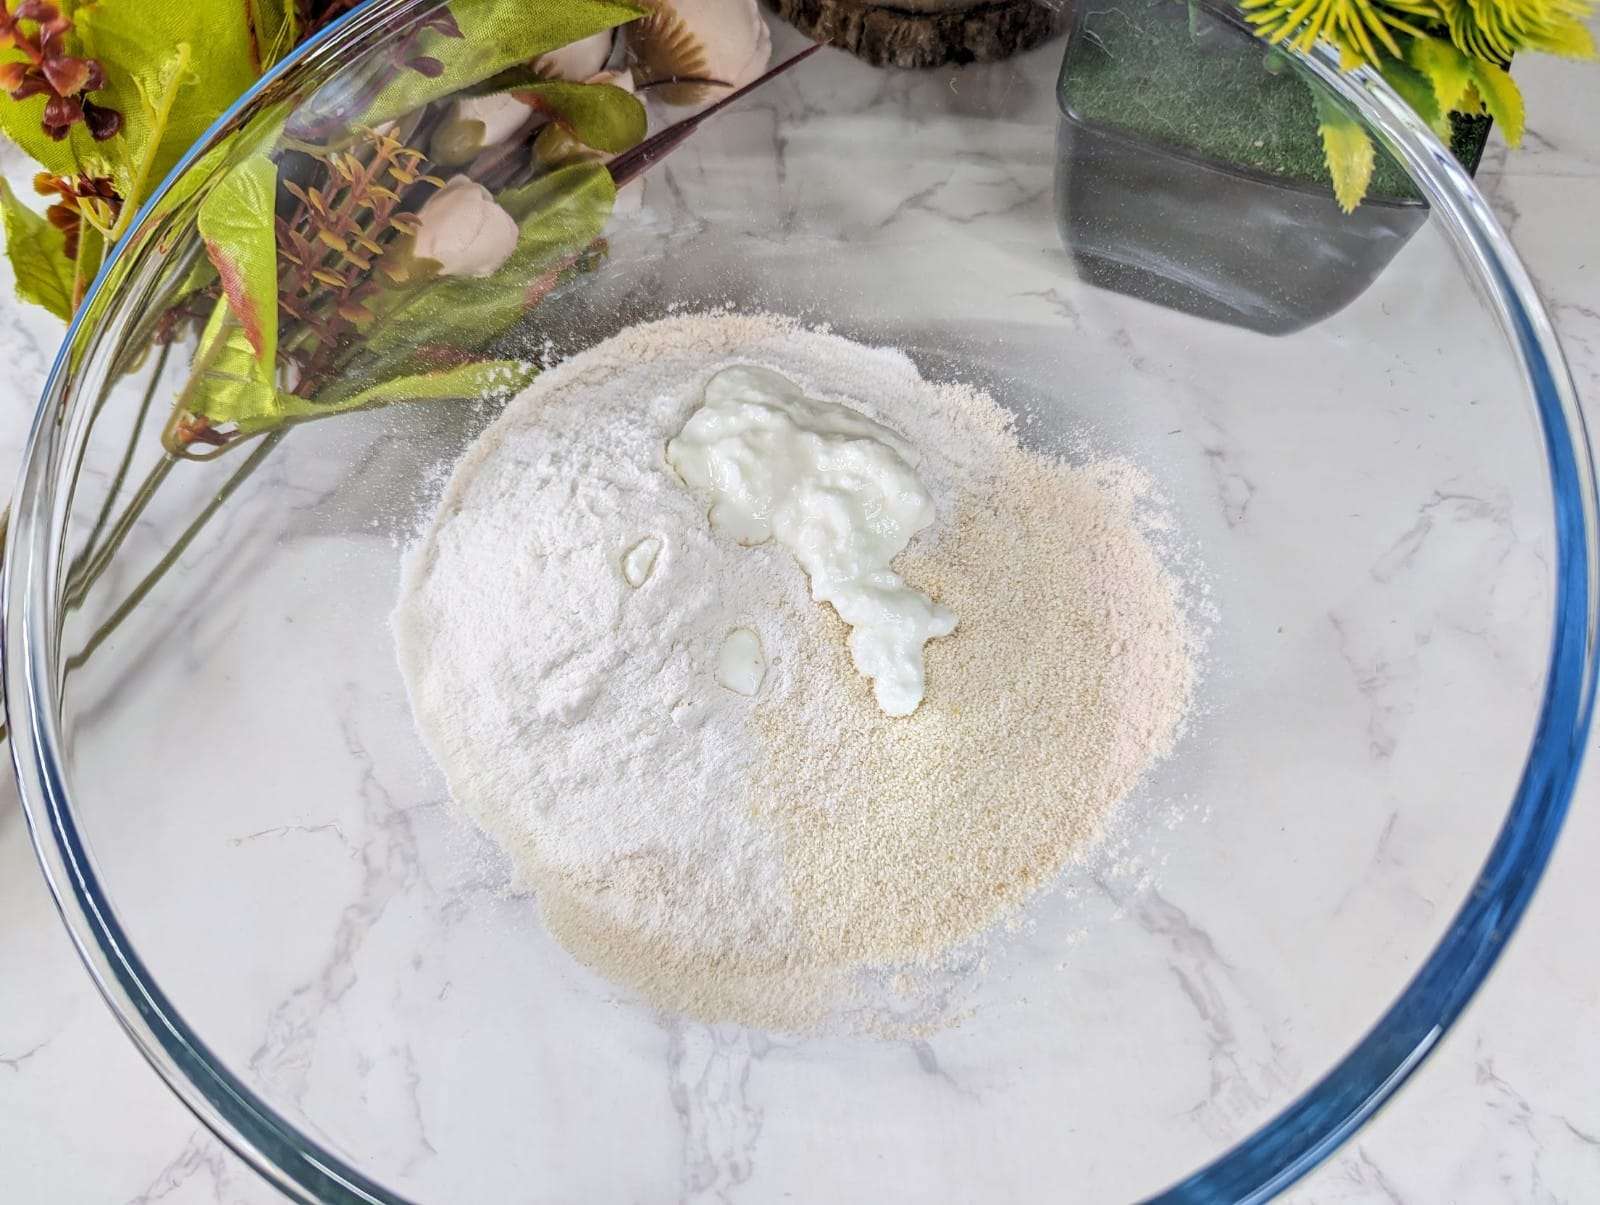
- Then gradually add 1 and 1/2 cup water while stirring to form a smooth batter.
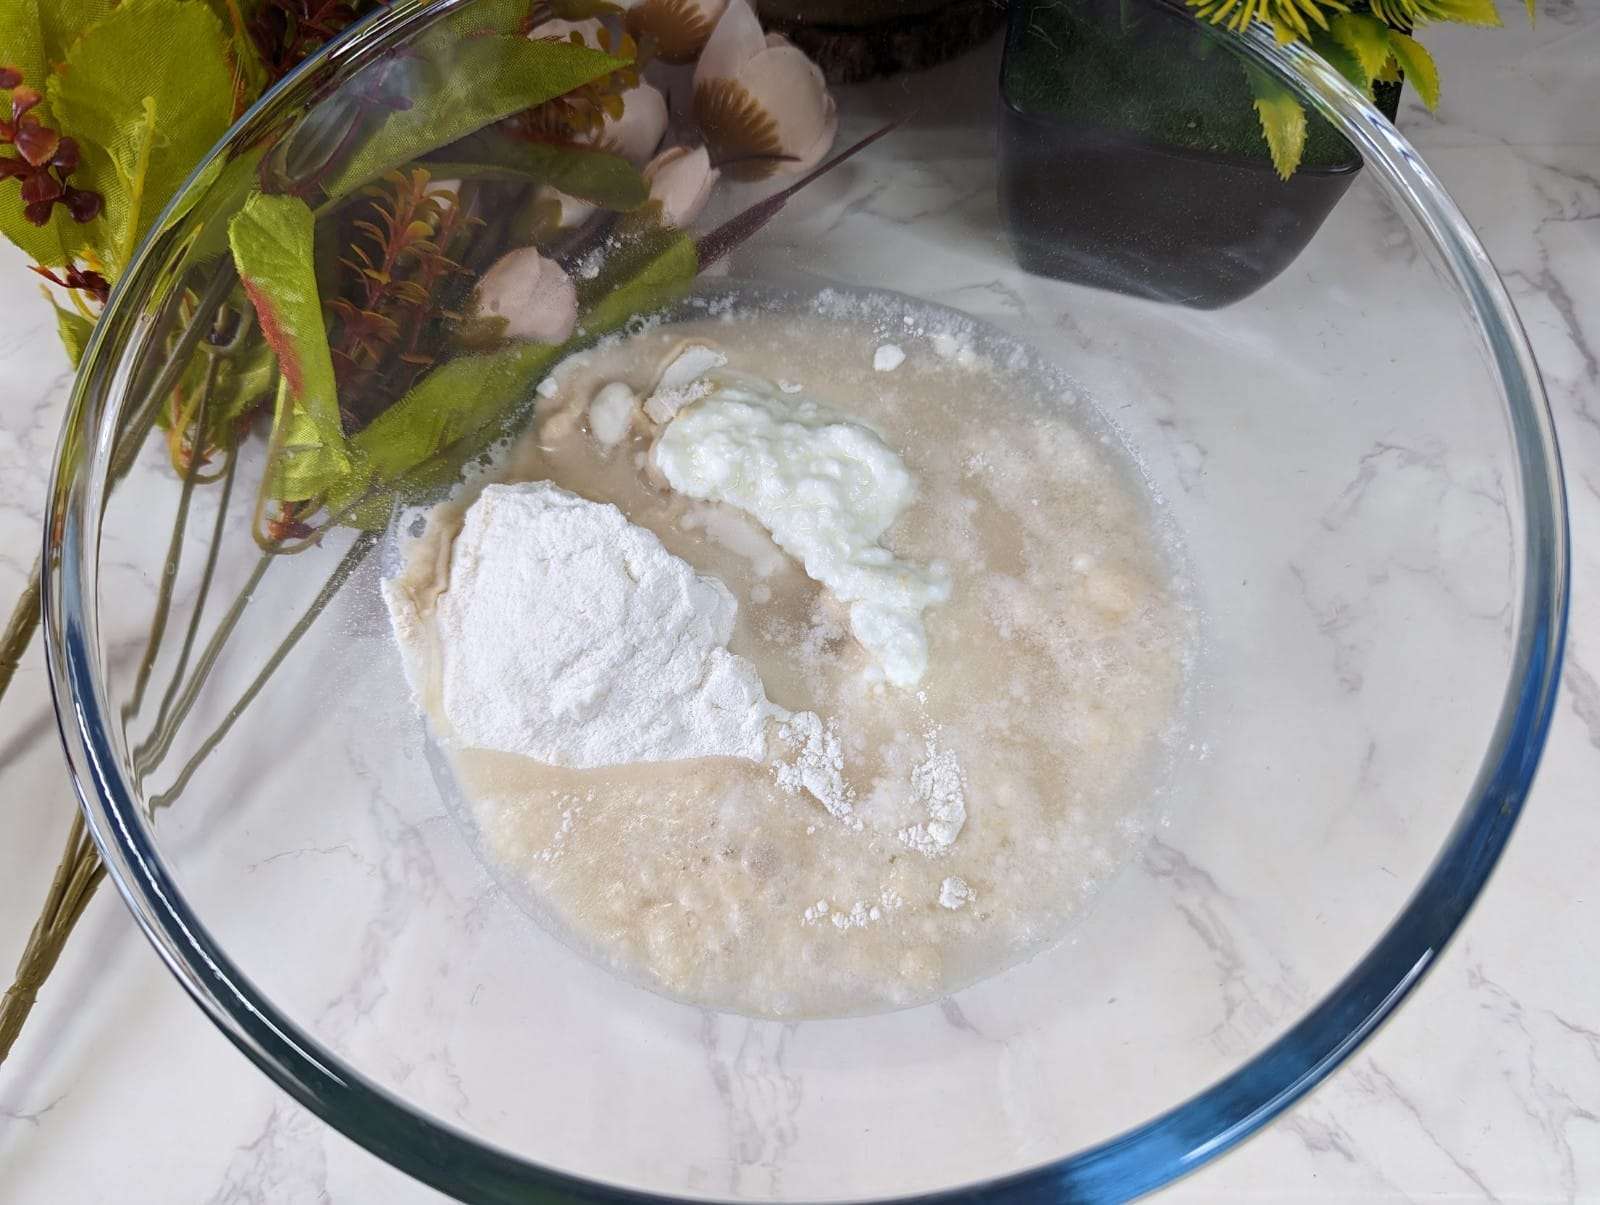
- Mix well and make sure there should be no lumps.
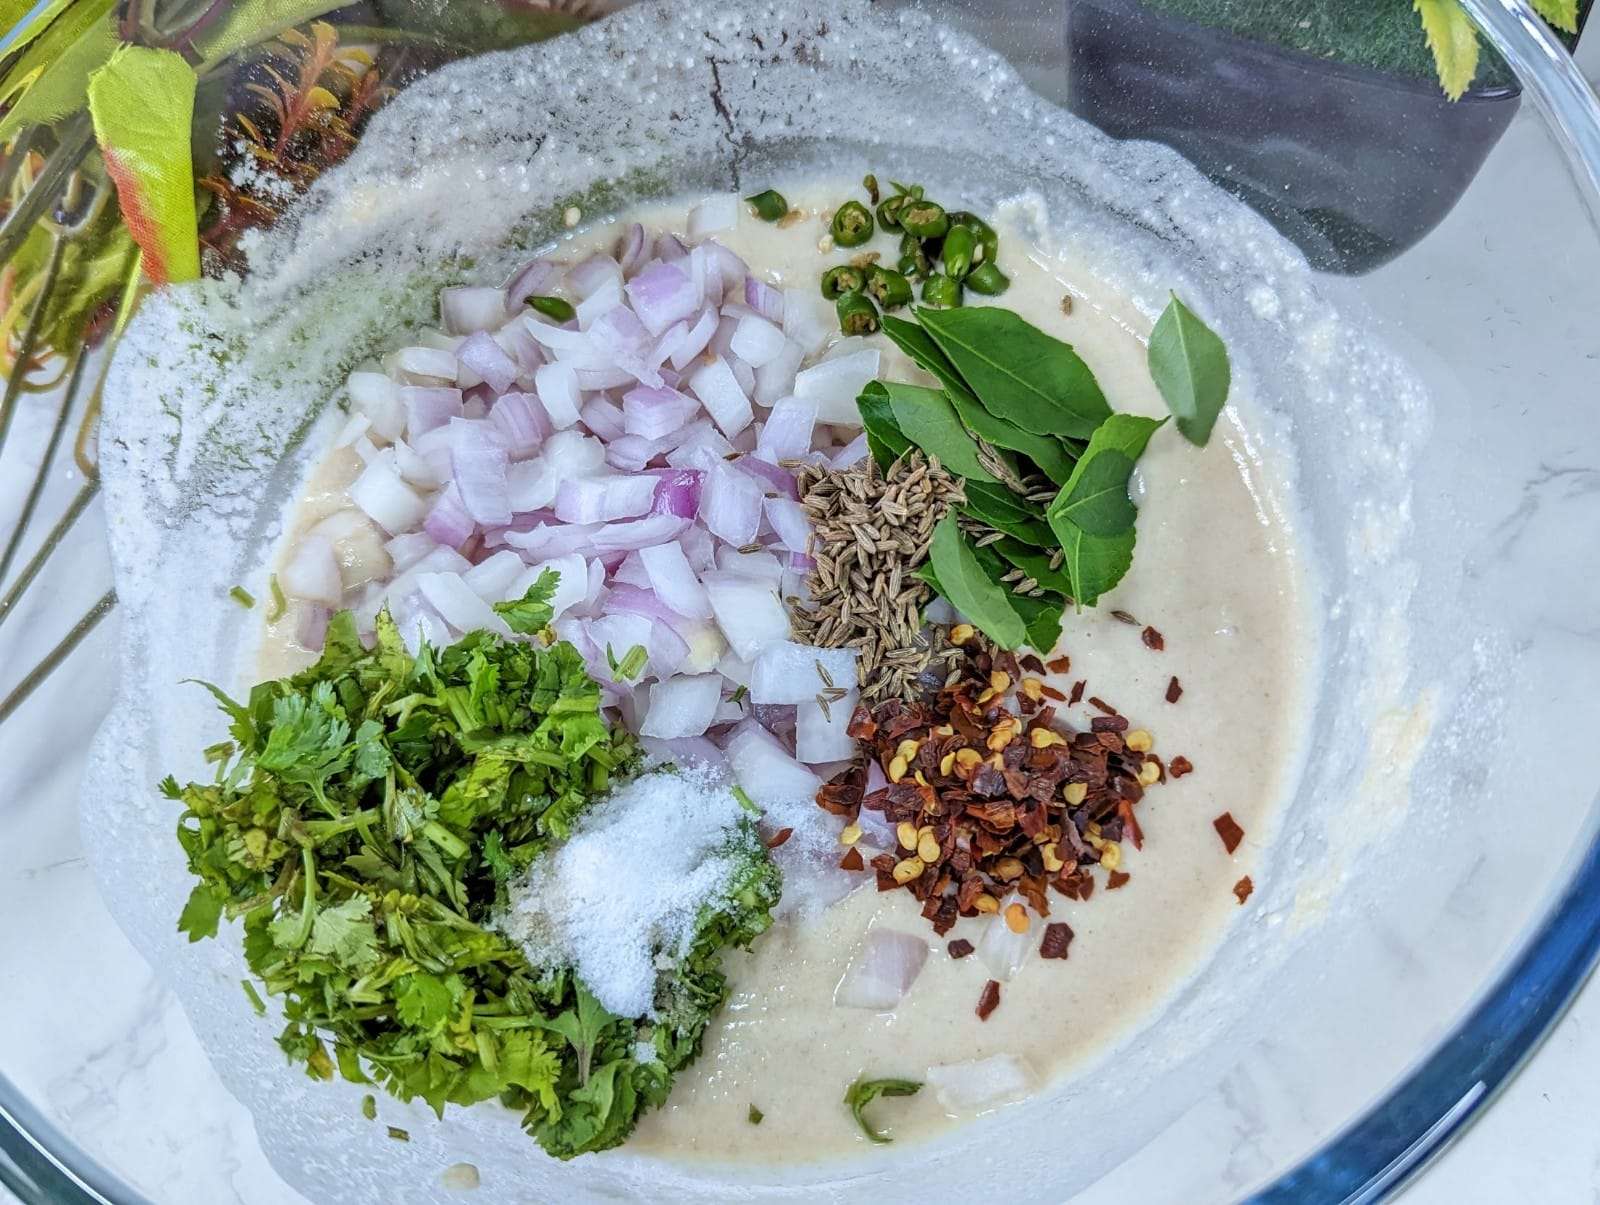
- Now add onion chopped, cumin seeds, grated ginger, chopped green chili, coriander leaves, chopped curry leaves, red chili flakes, and salt to taste.
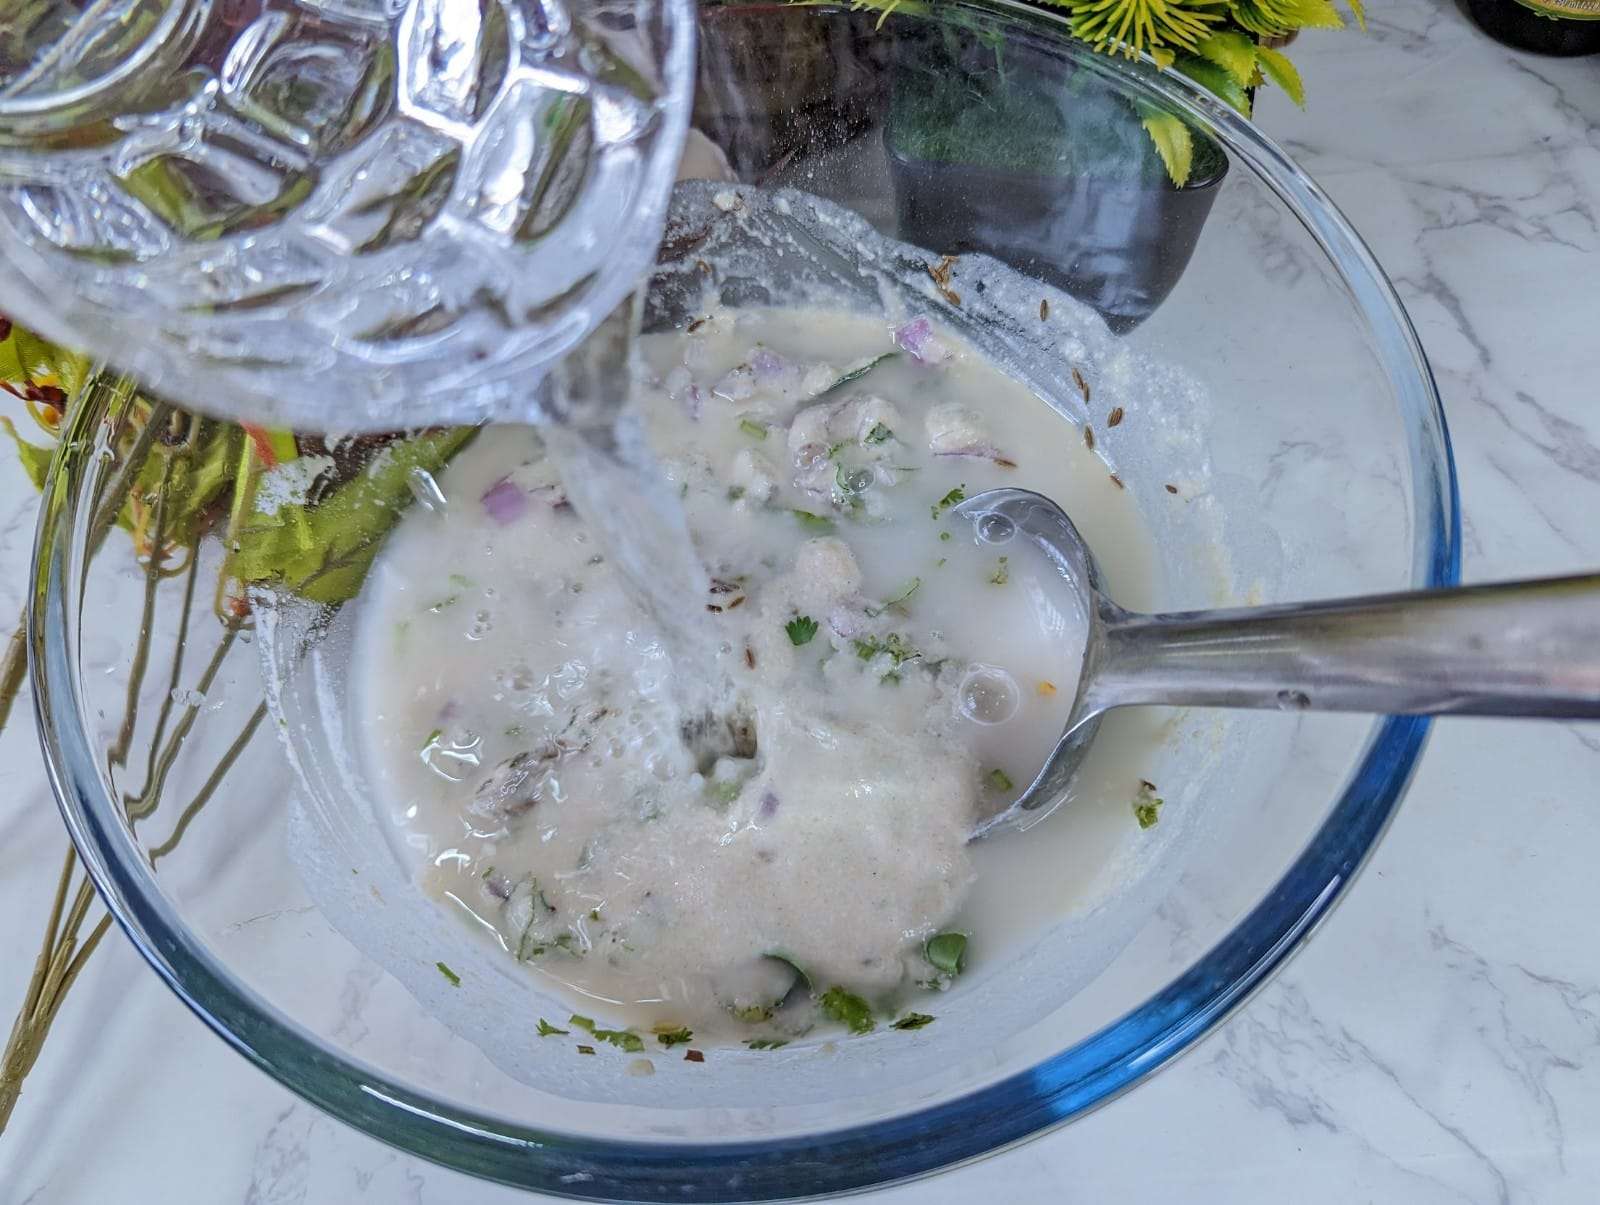
- Now again gradually add 1/2 cup water and mix well.
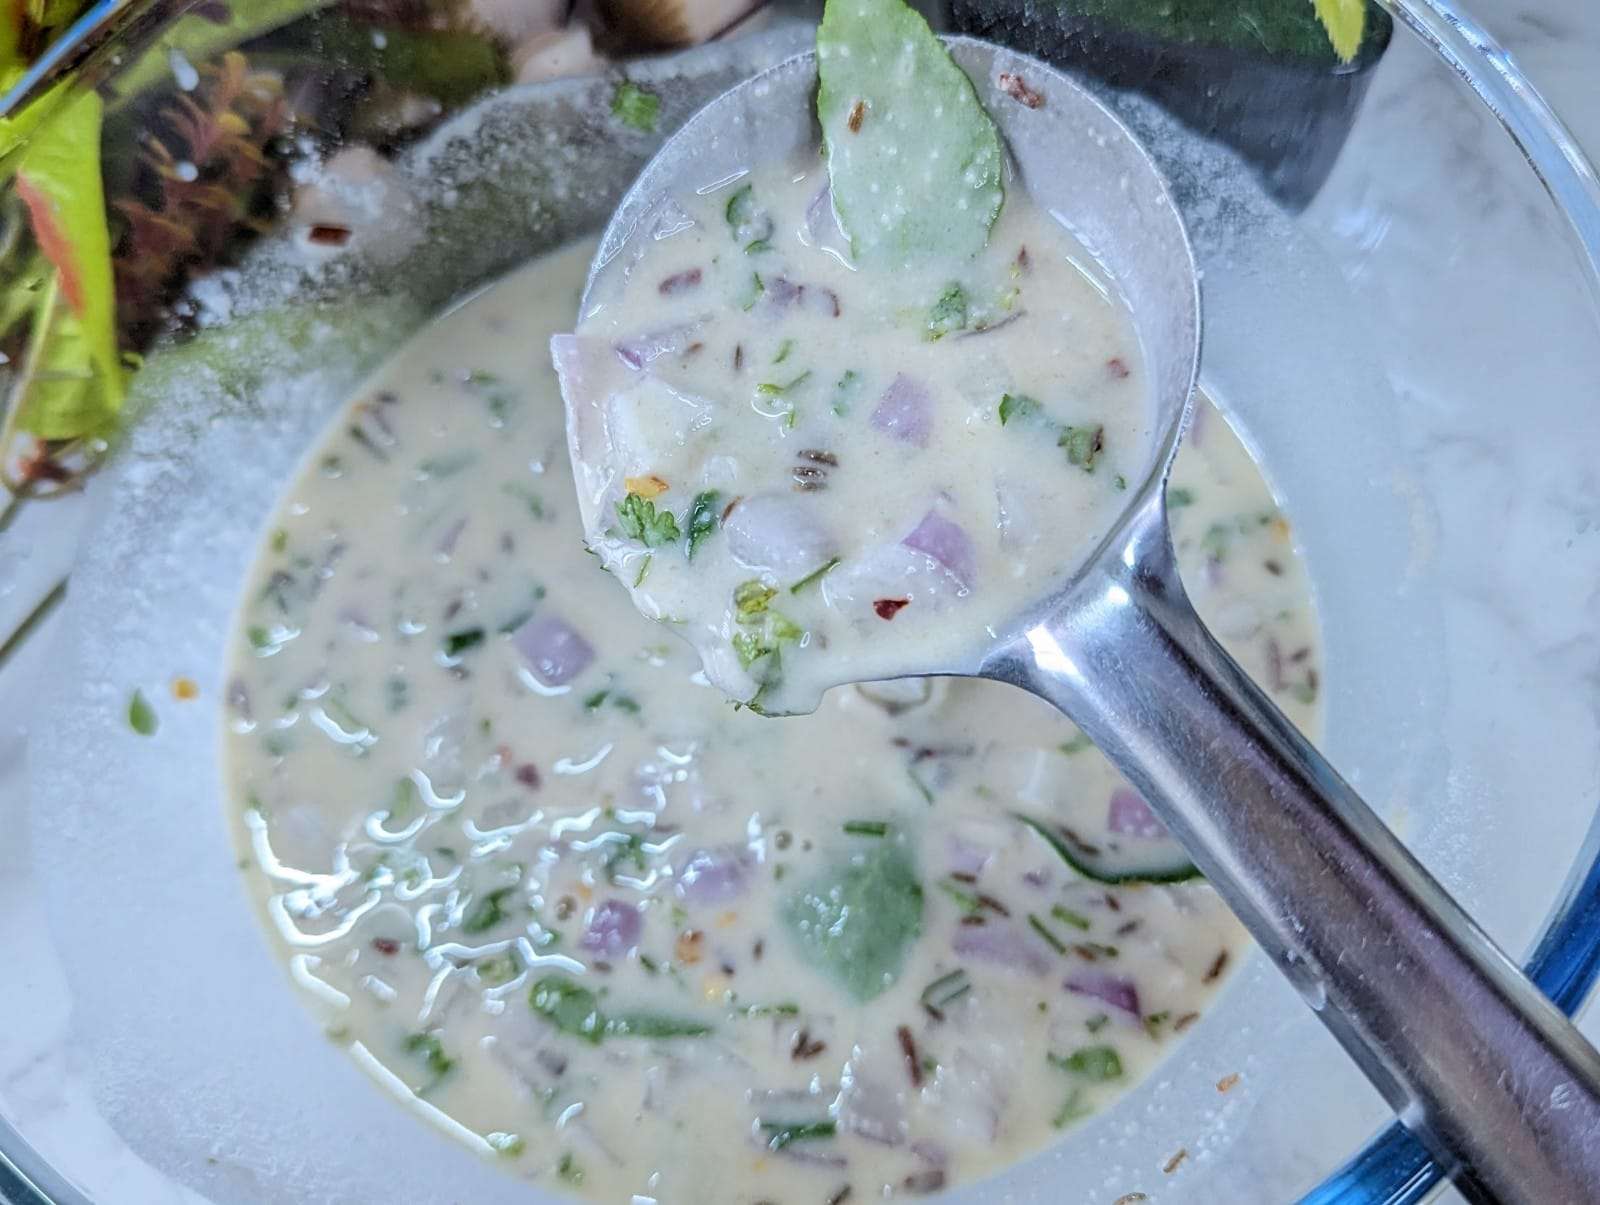
- The consistency should be slightly thinner than regular dosa batter.
- Cover the batter and allow the batter to rest for about 30 minutes to allow the flour to absorb the moisture.
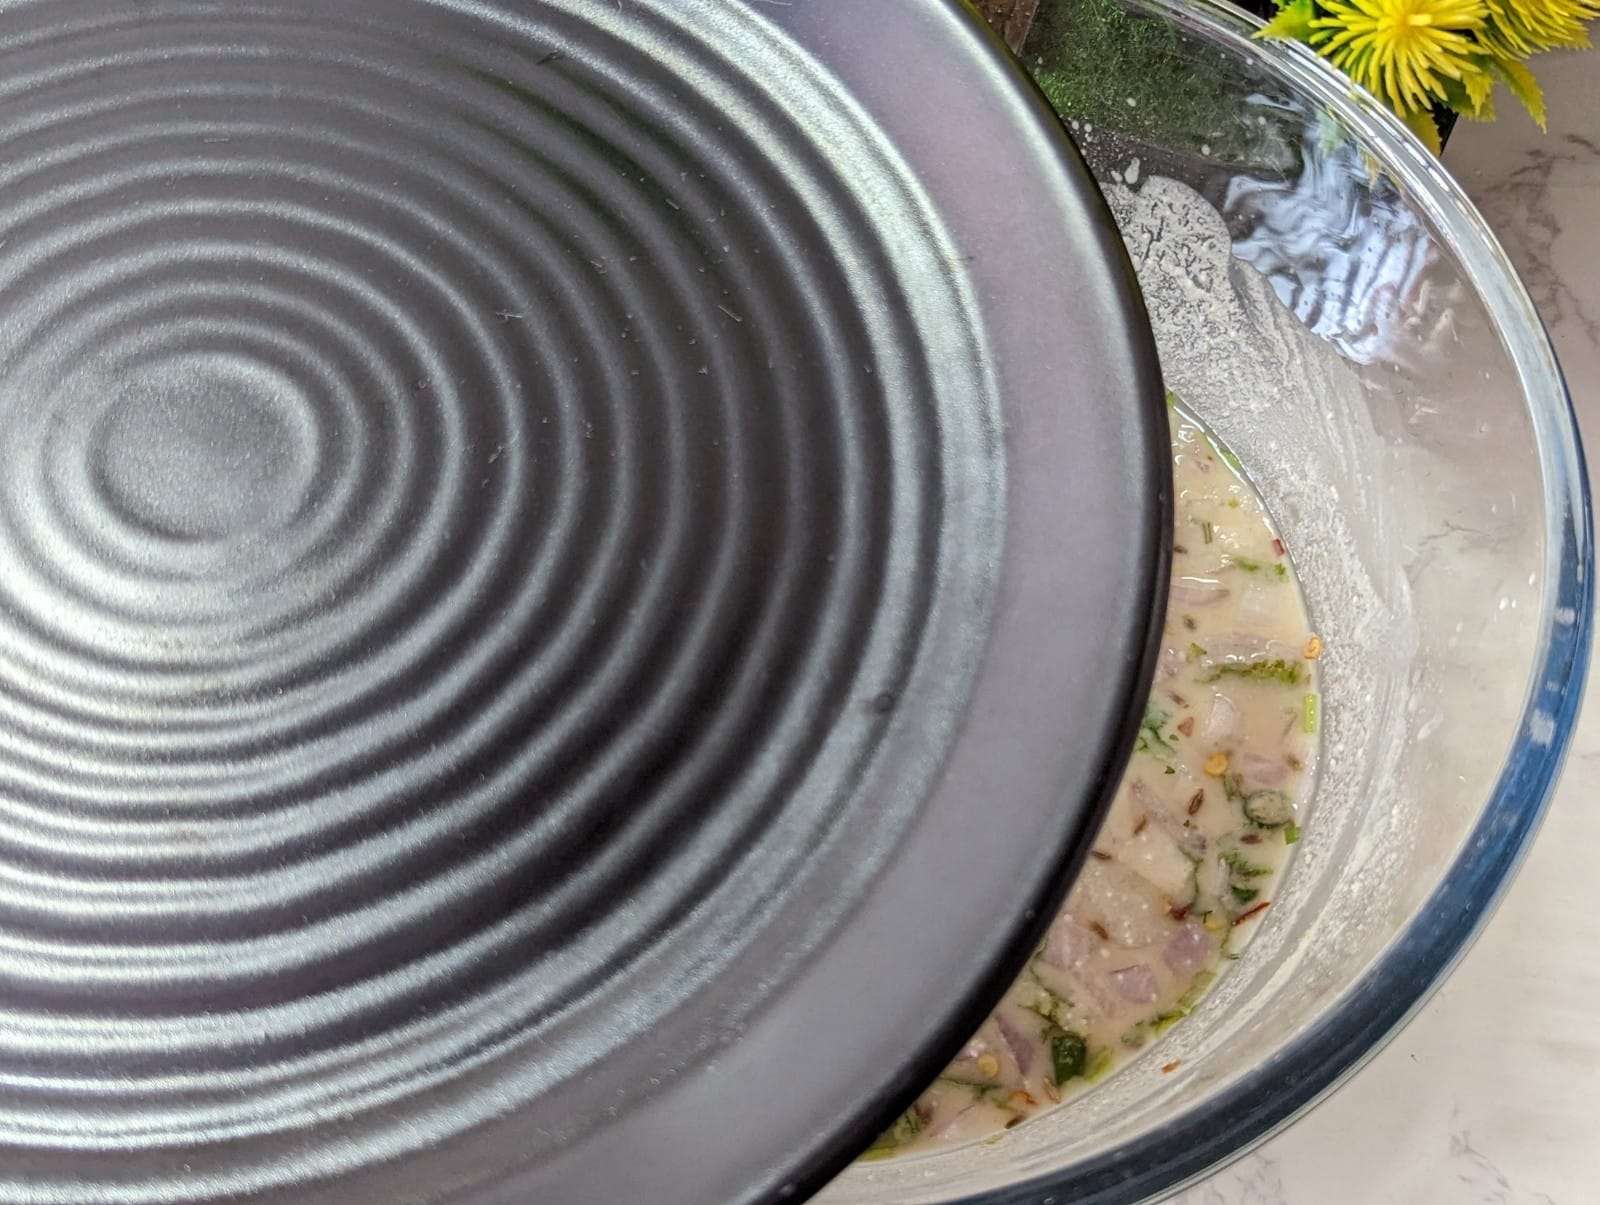
- After 30 minutes open the lid and again mix.
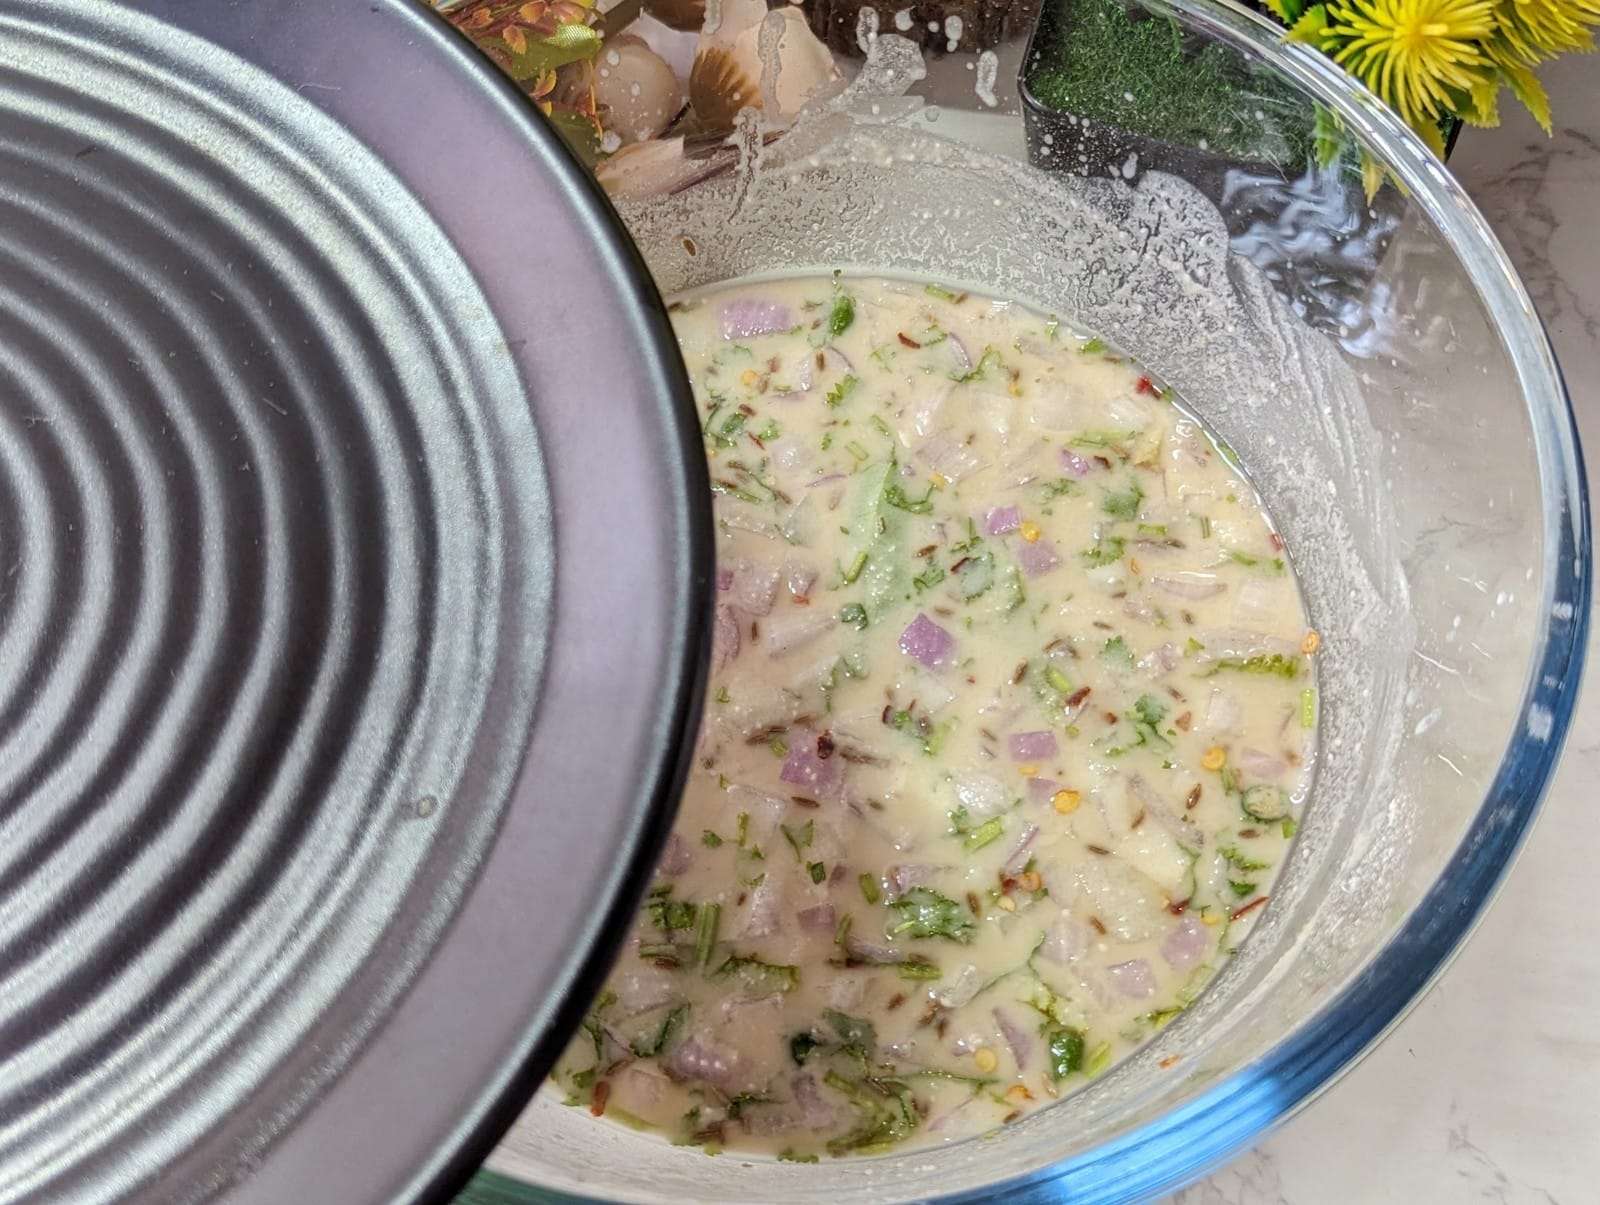
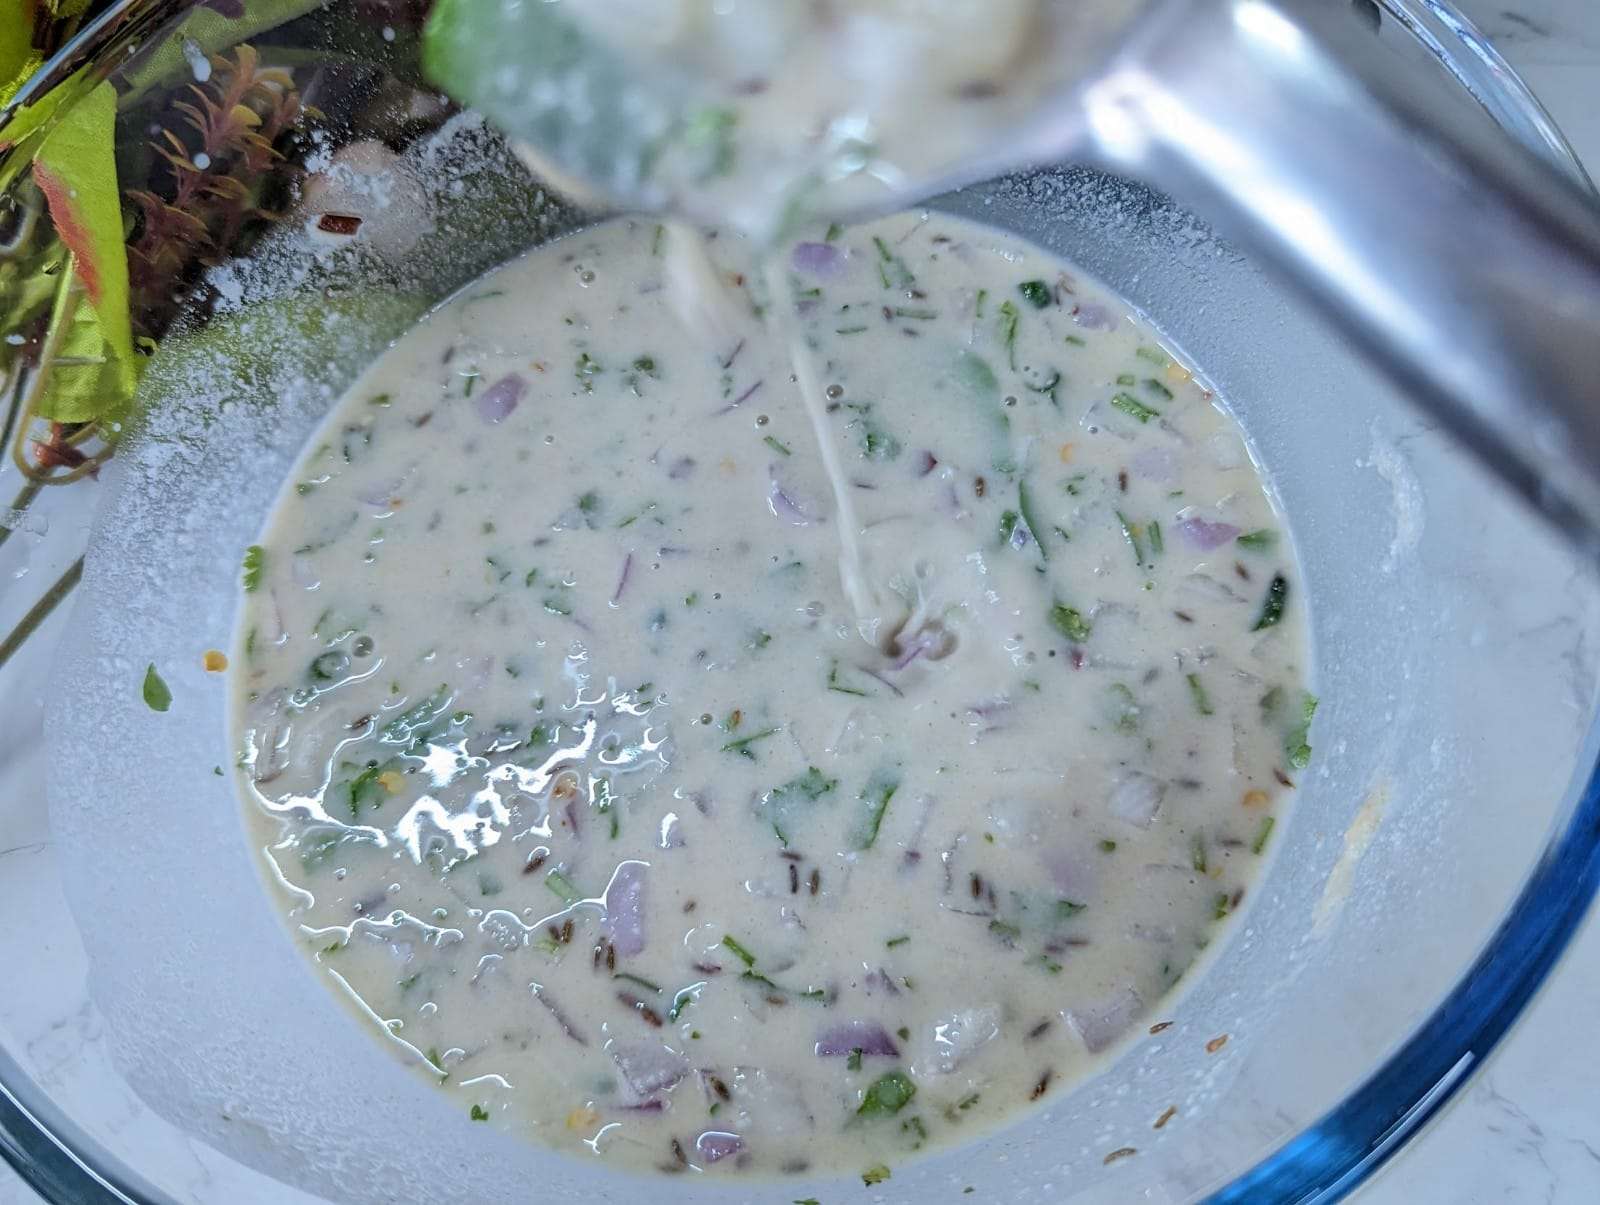
- Now add olive oil or ghee to the skillet or tawa.
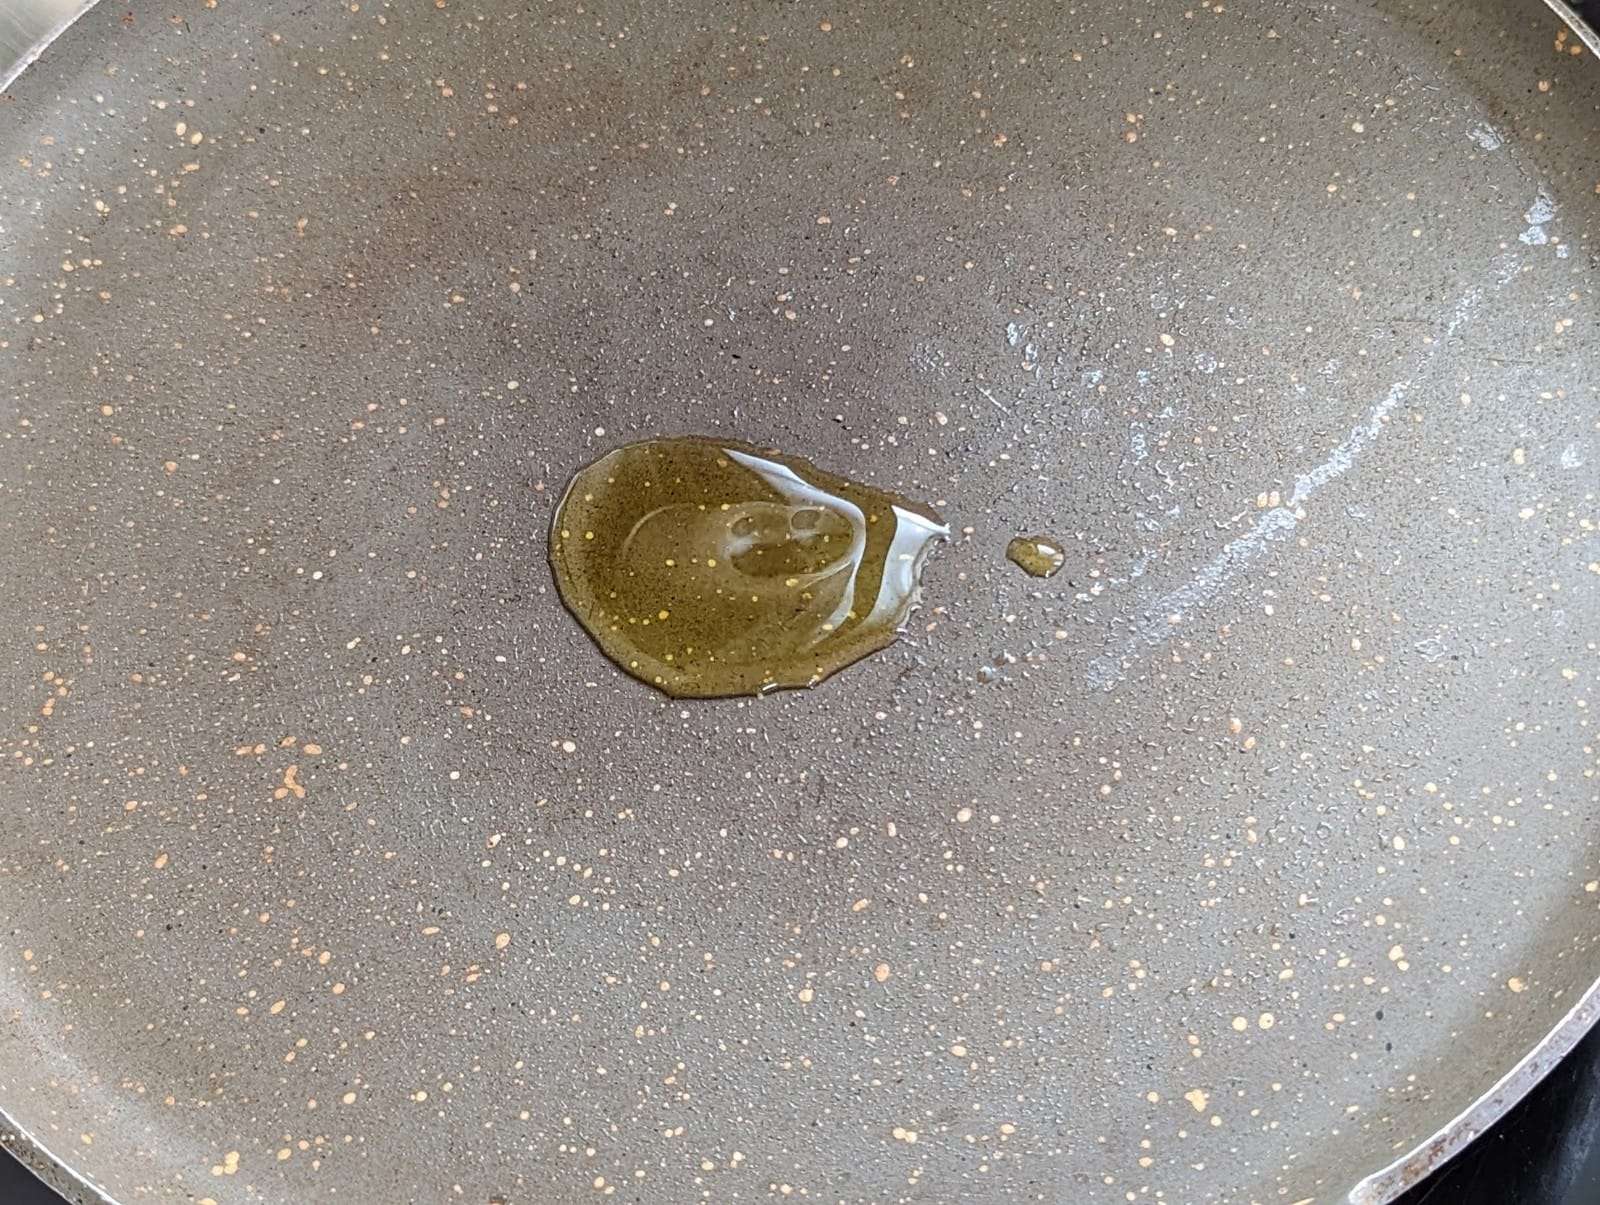
- Wipe with tissue paper.
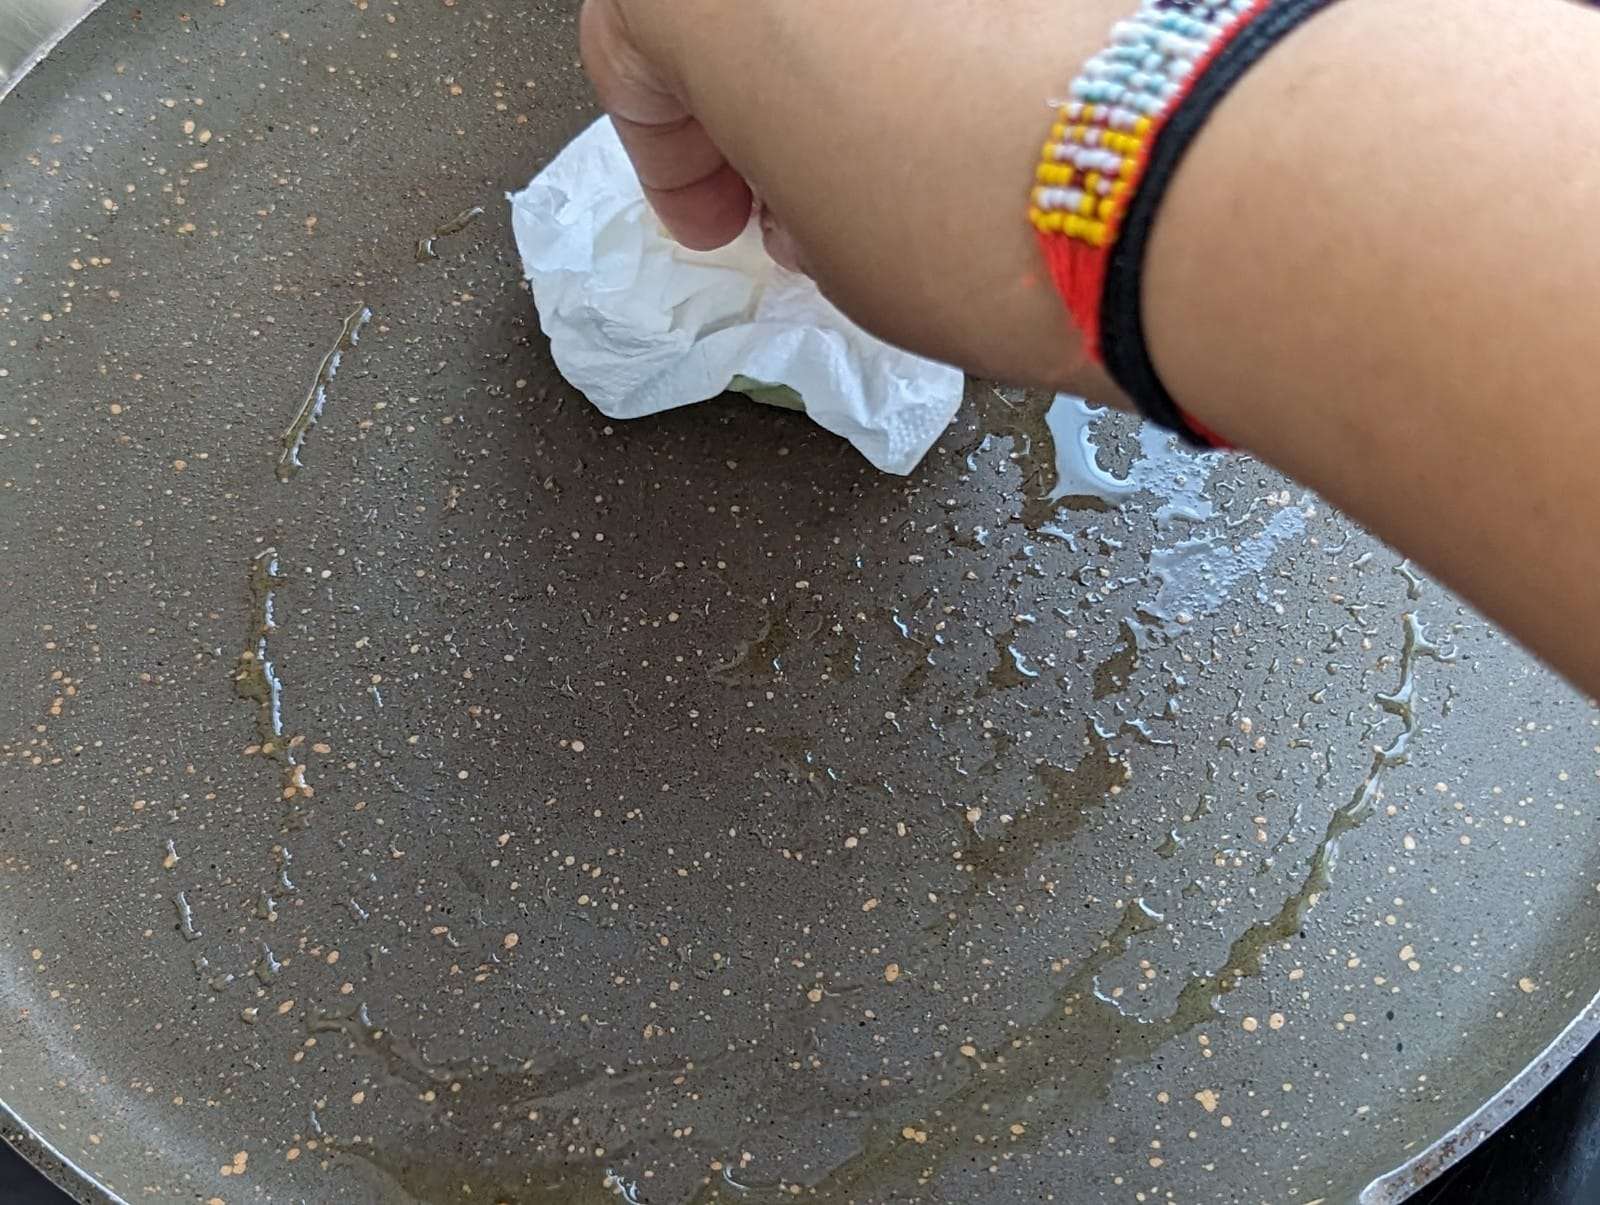
- Pour a ladleful of the batter onto the center of the skillet and quickly spread it in a circular motion to form a thin dosa.
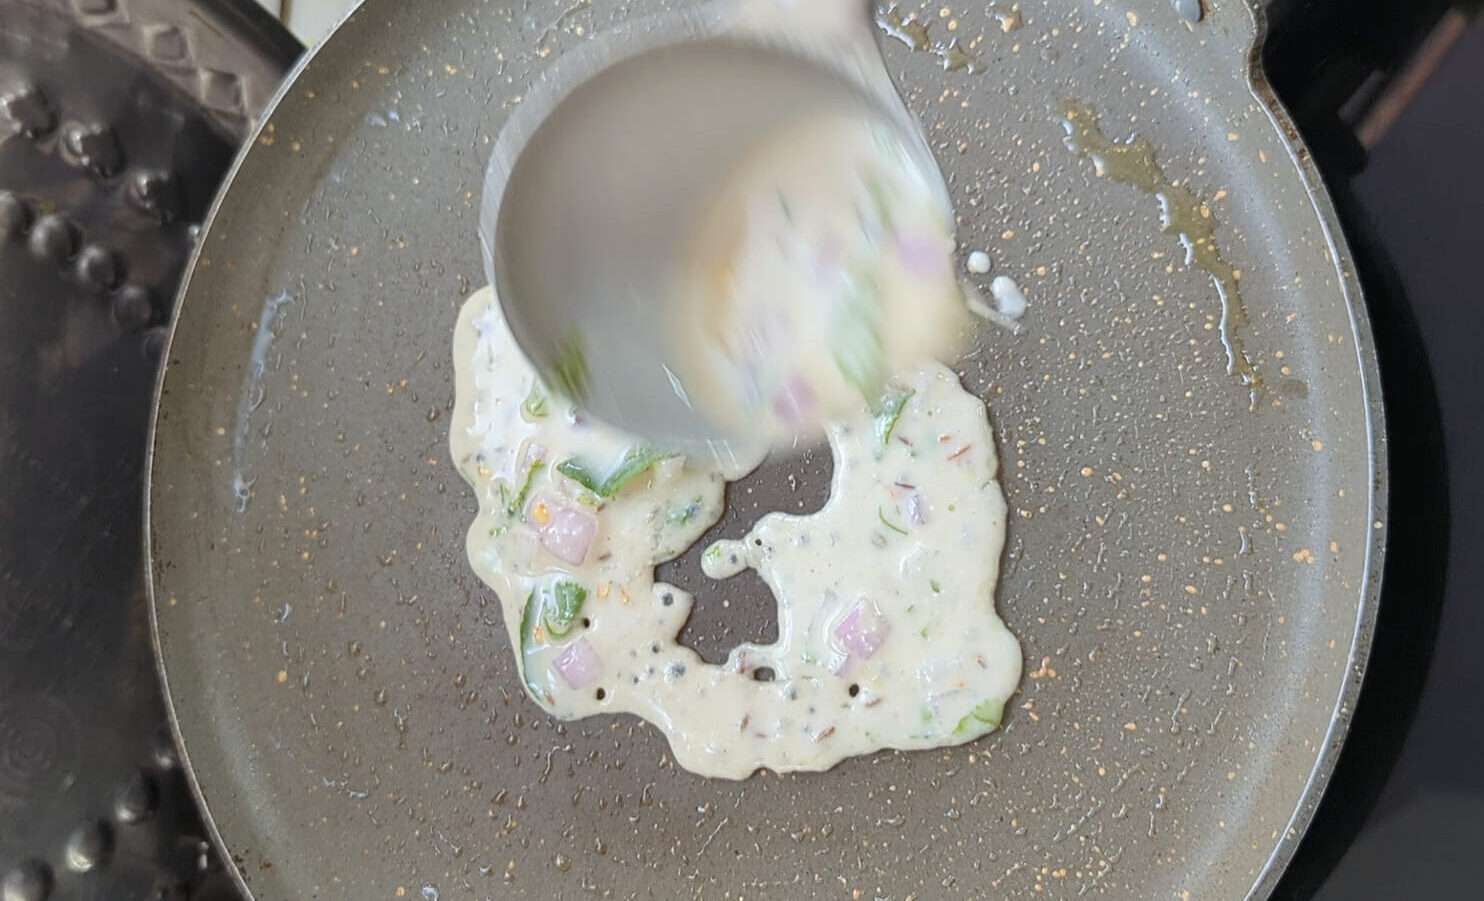
- You can make it as thick or thin as you prefer.
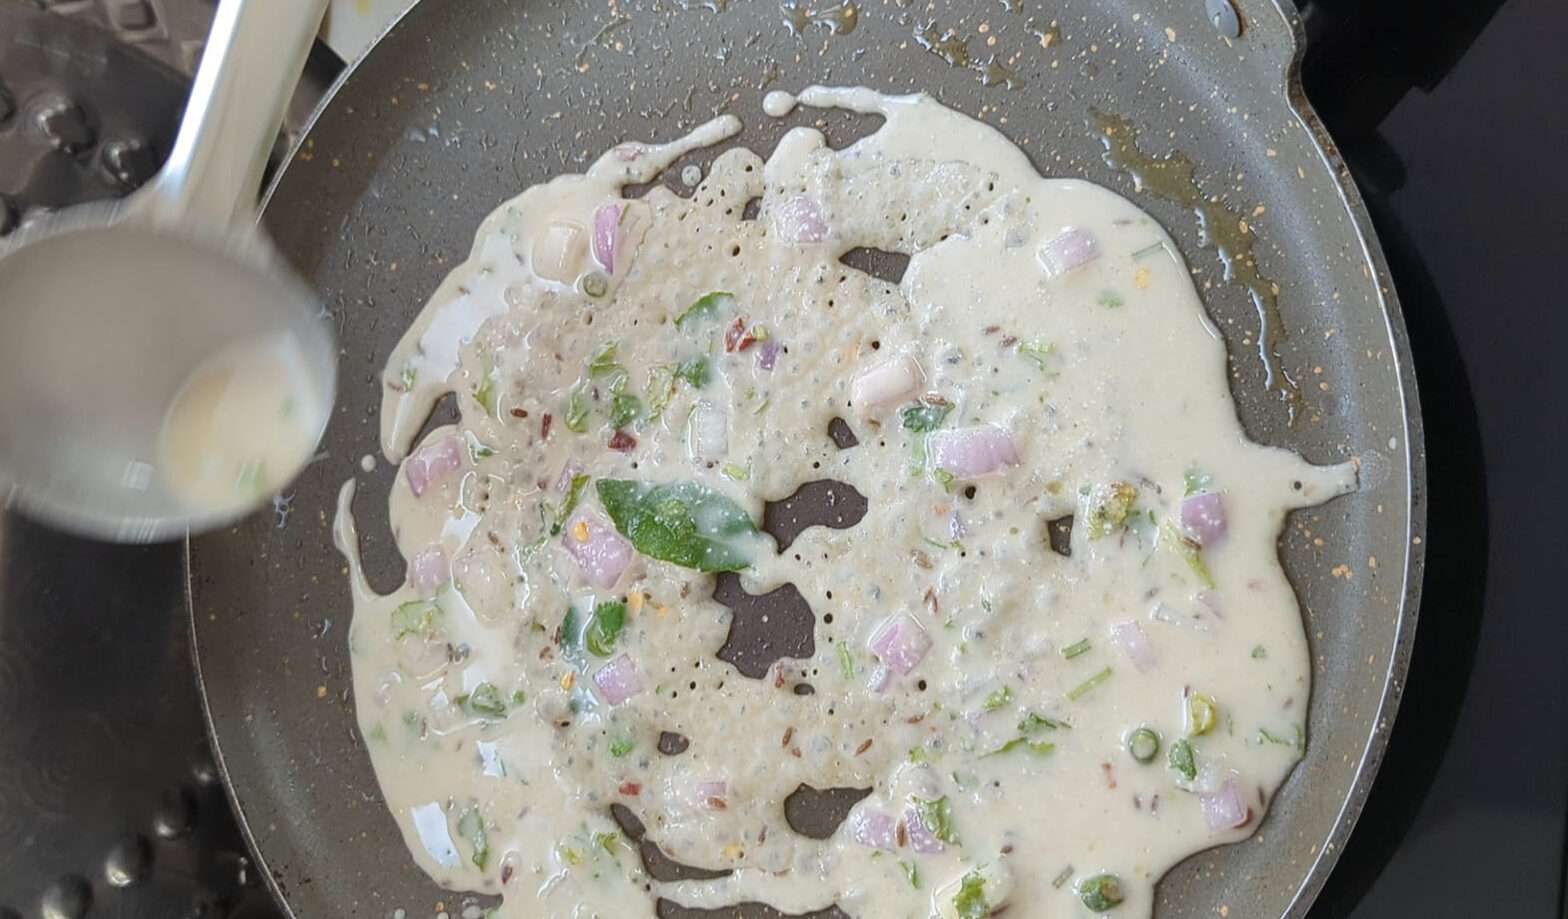
- Drizzle a little oil or ghee around the edges and middle of the dosa.
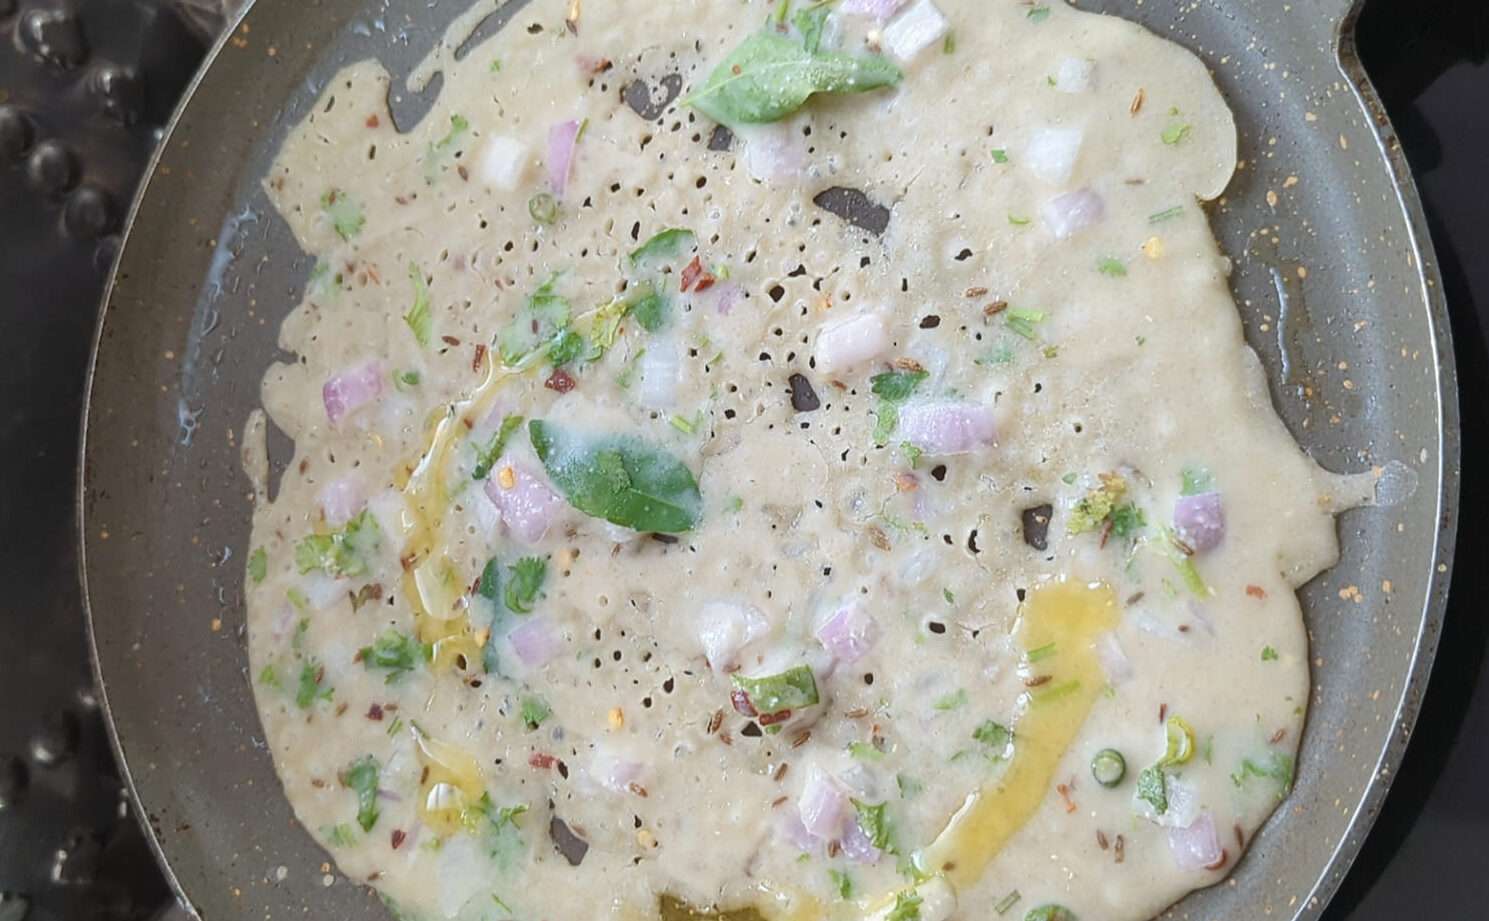
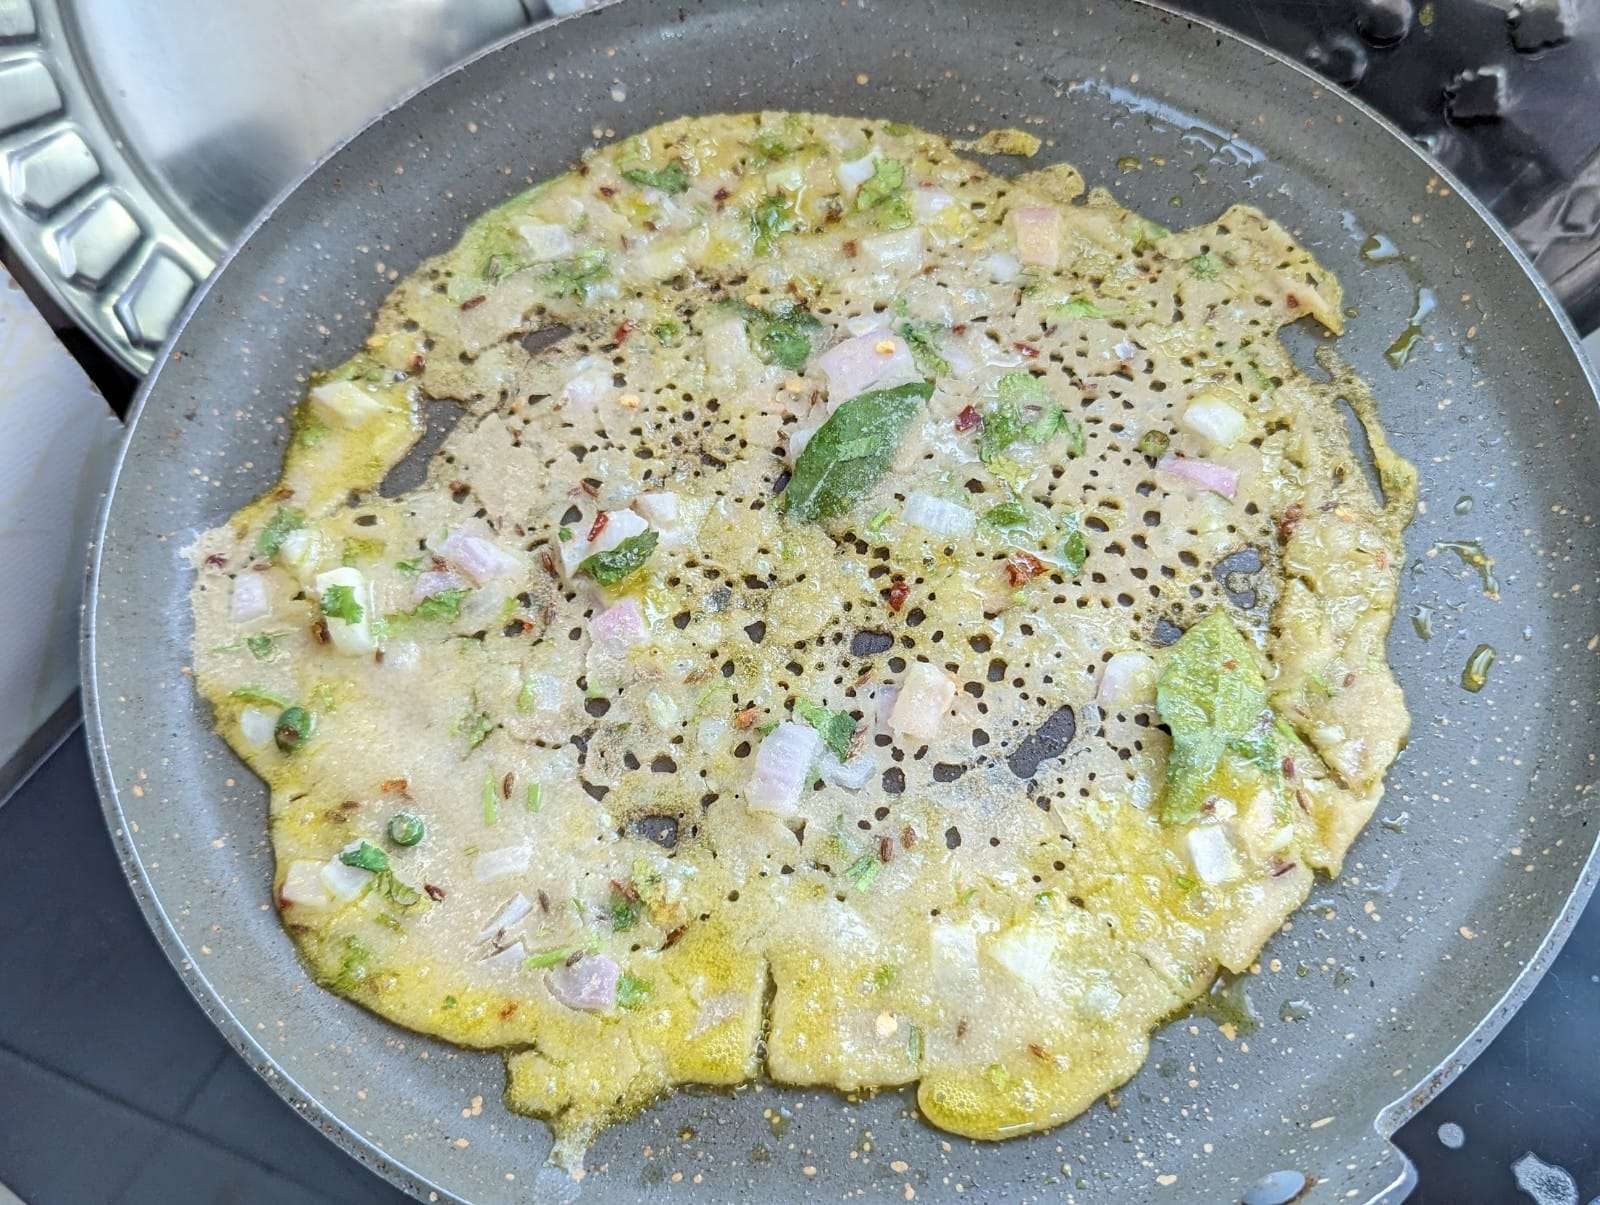
- Cook until the bottom turns golden brown and crisp. Mine too 6 minutes.
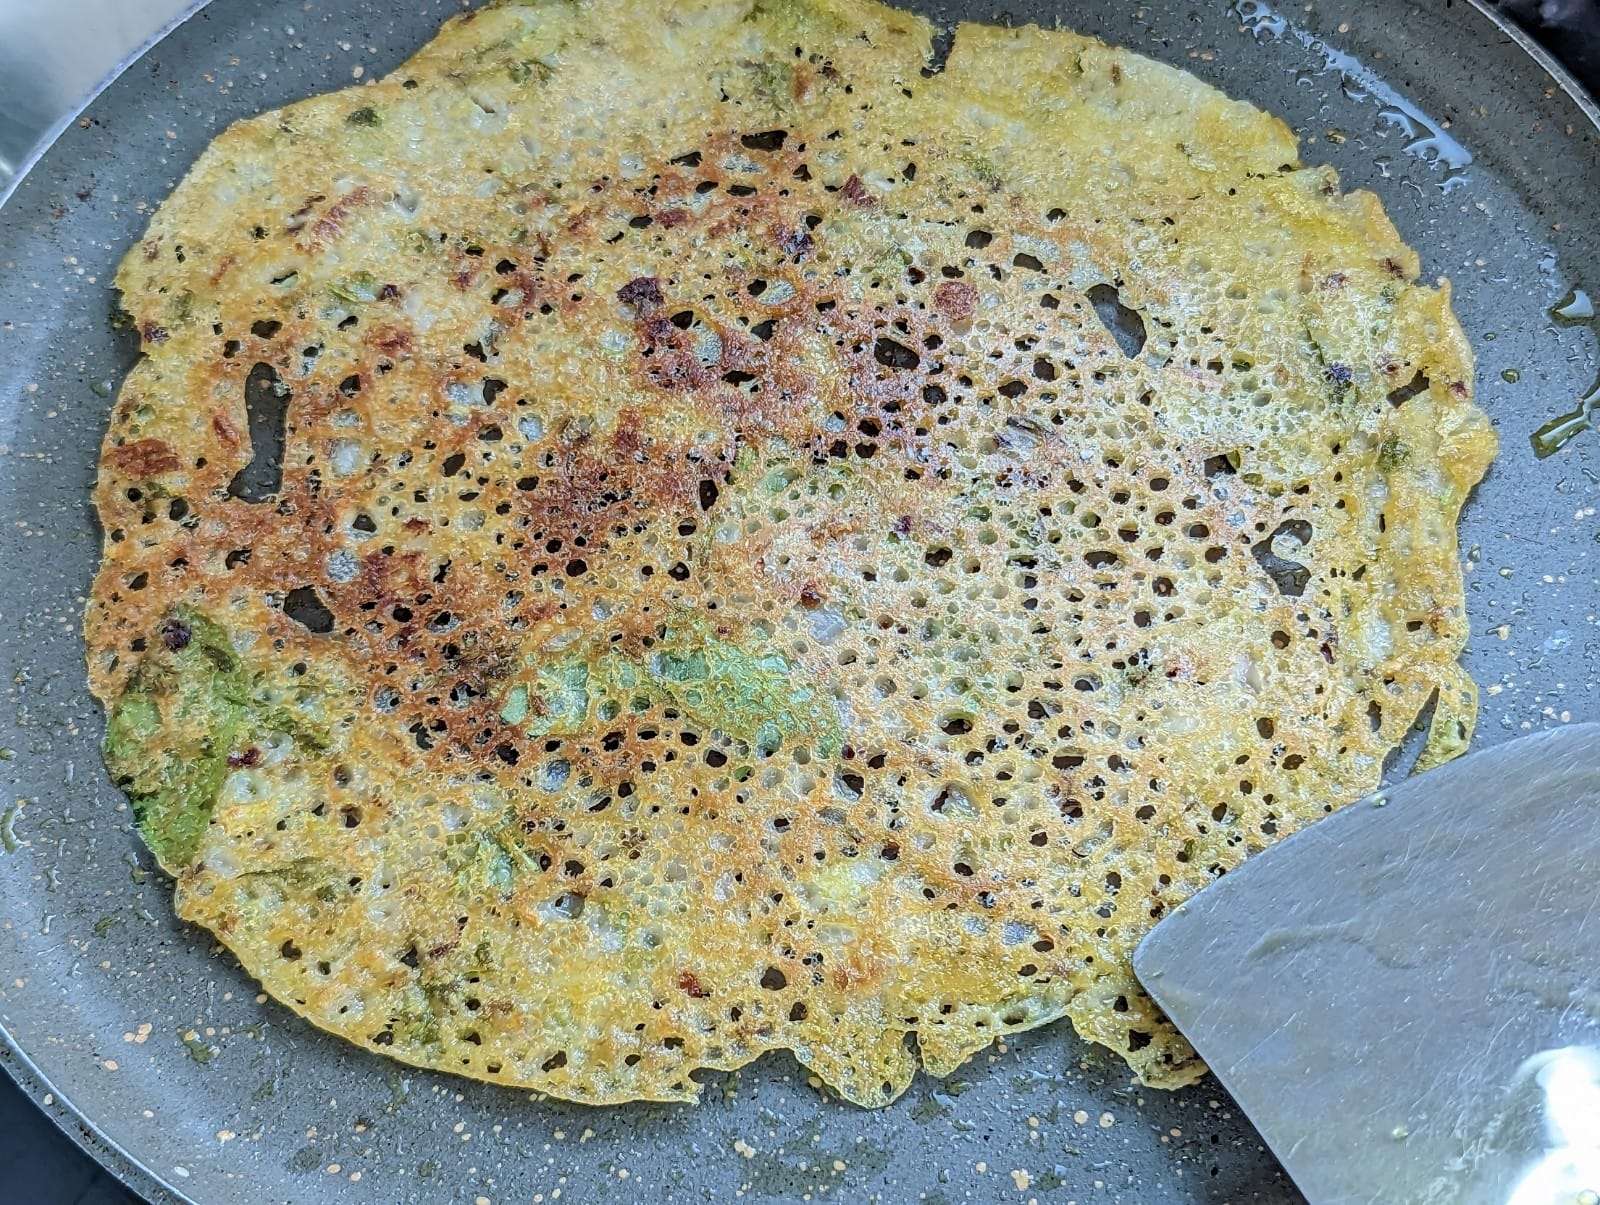
- Now flip the dosa using a spatula and cook for 2 minutes or so on the other side. Press it lightly with the spatula to ensure it cooks evenly.
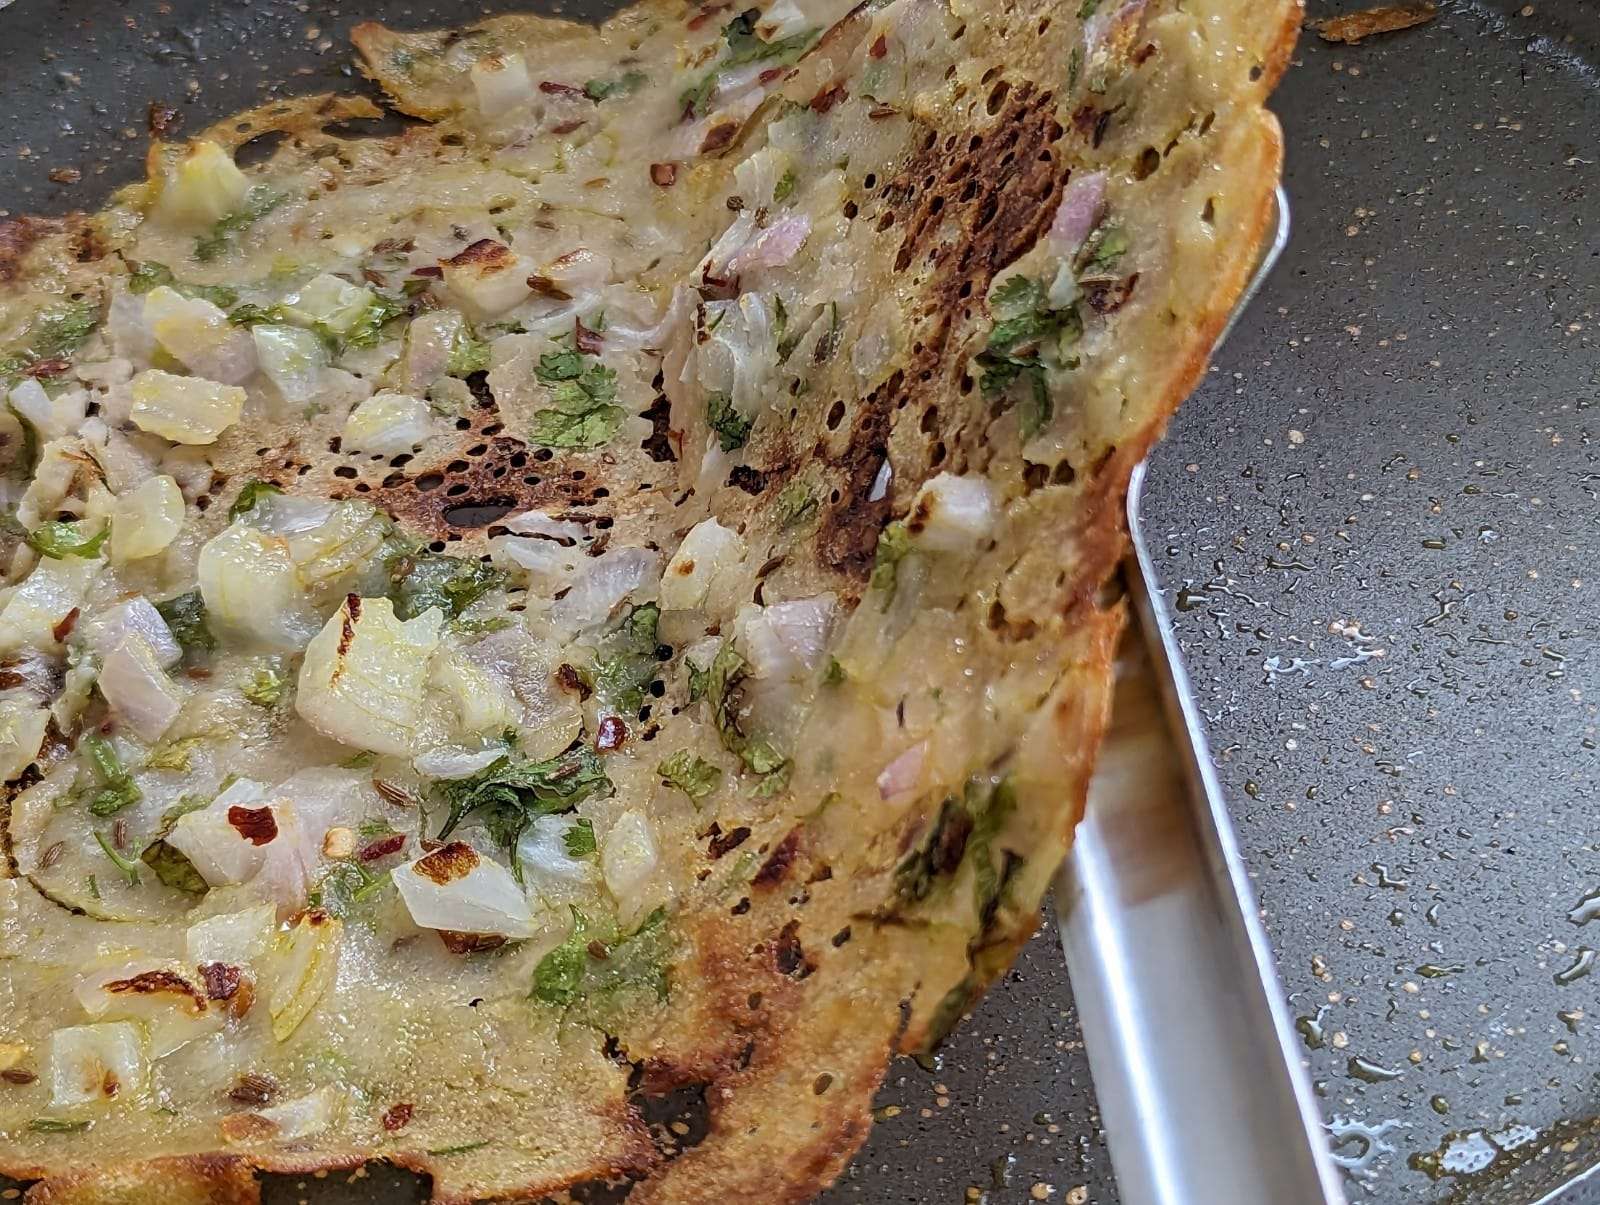
- Once both sides are cooked to your liking, fold it and remove the dosa from the skillet and transfer it to a serving plate.
- Repeat the process with the remaining batter, greasing the skillet before making each dosa.
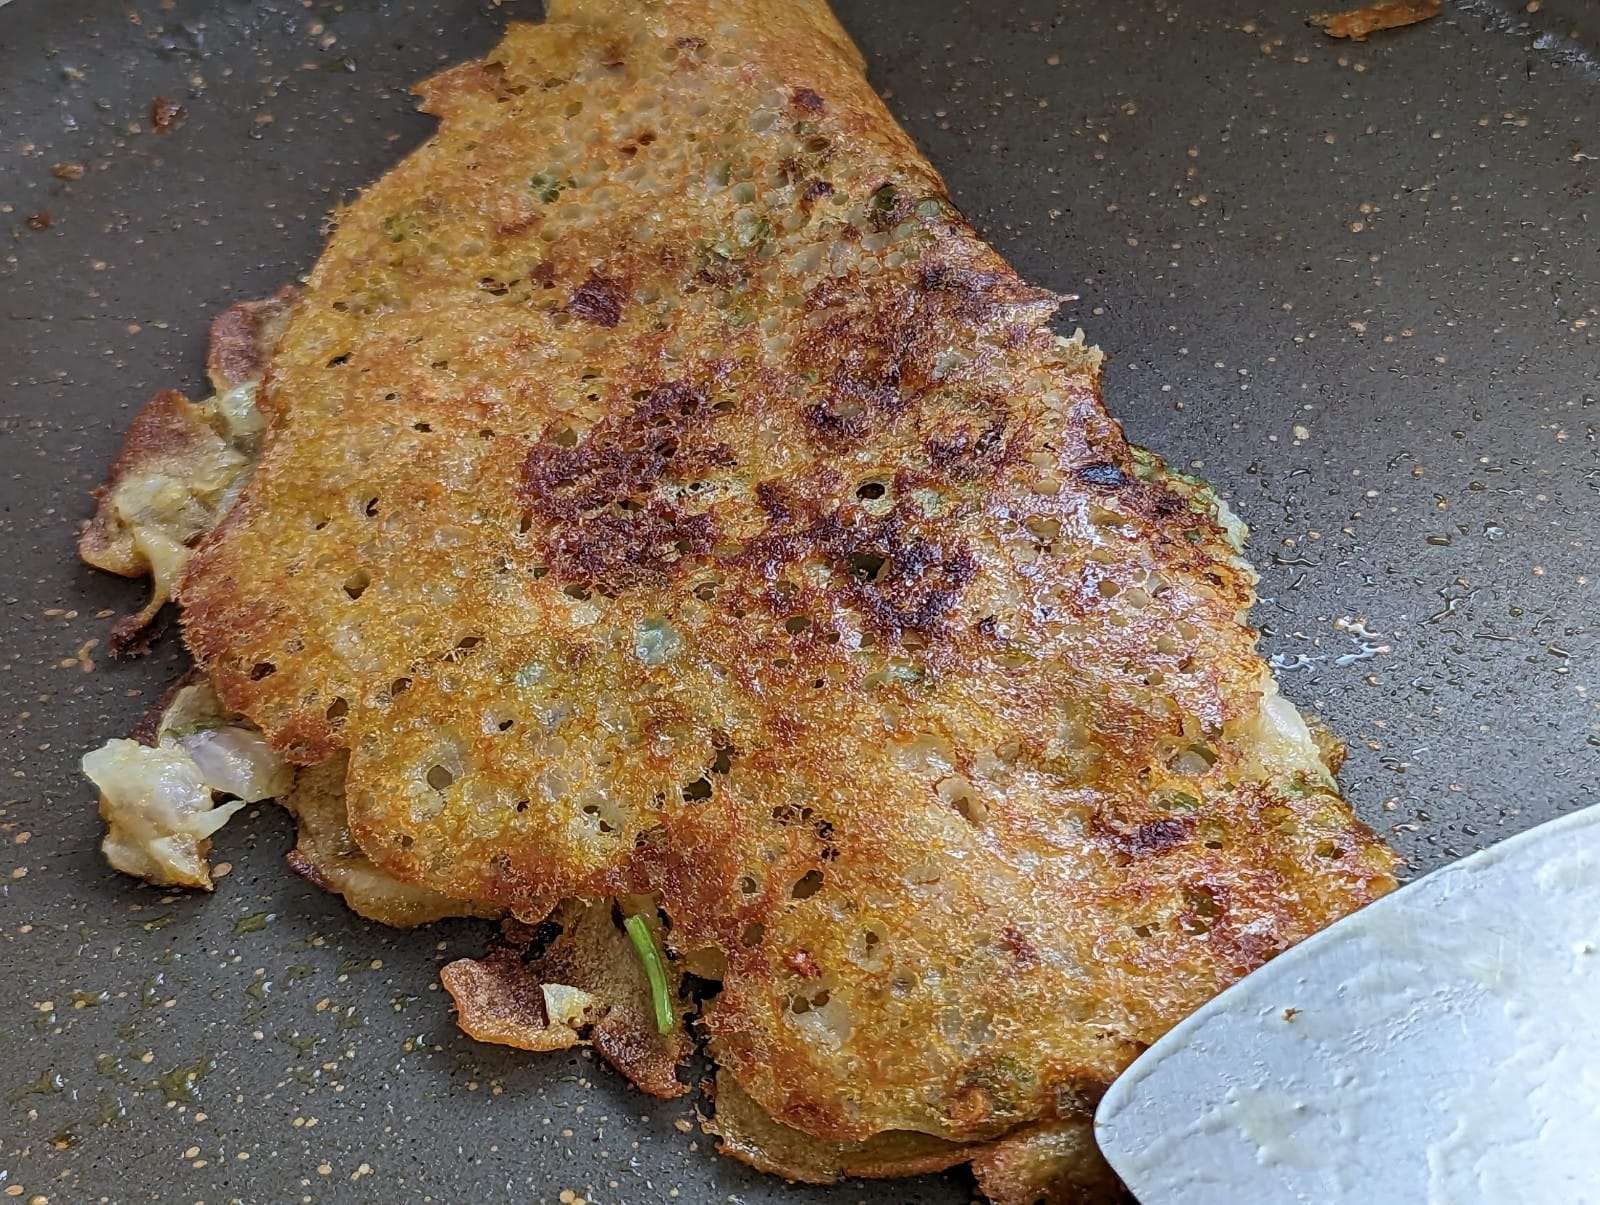
- Serve the instant wheat dosa hot with chutney, sambar, or any accompaniment of your choice.
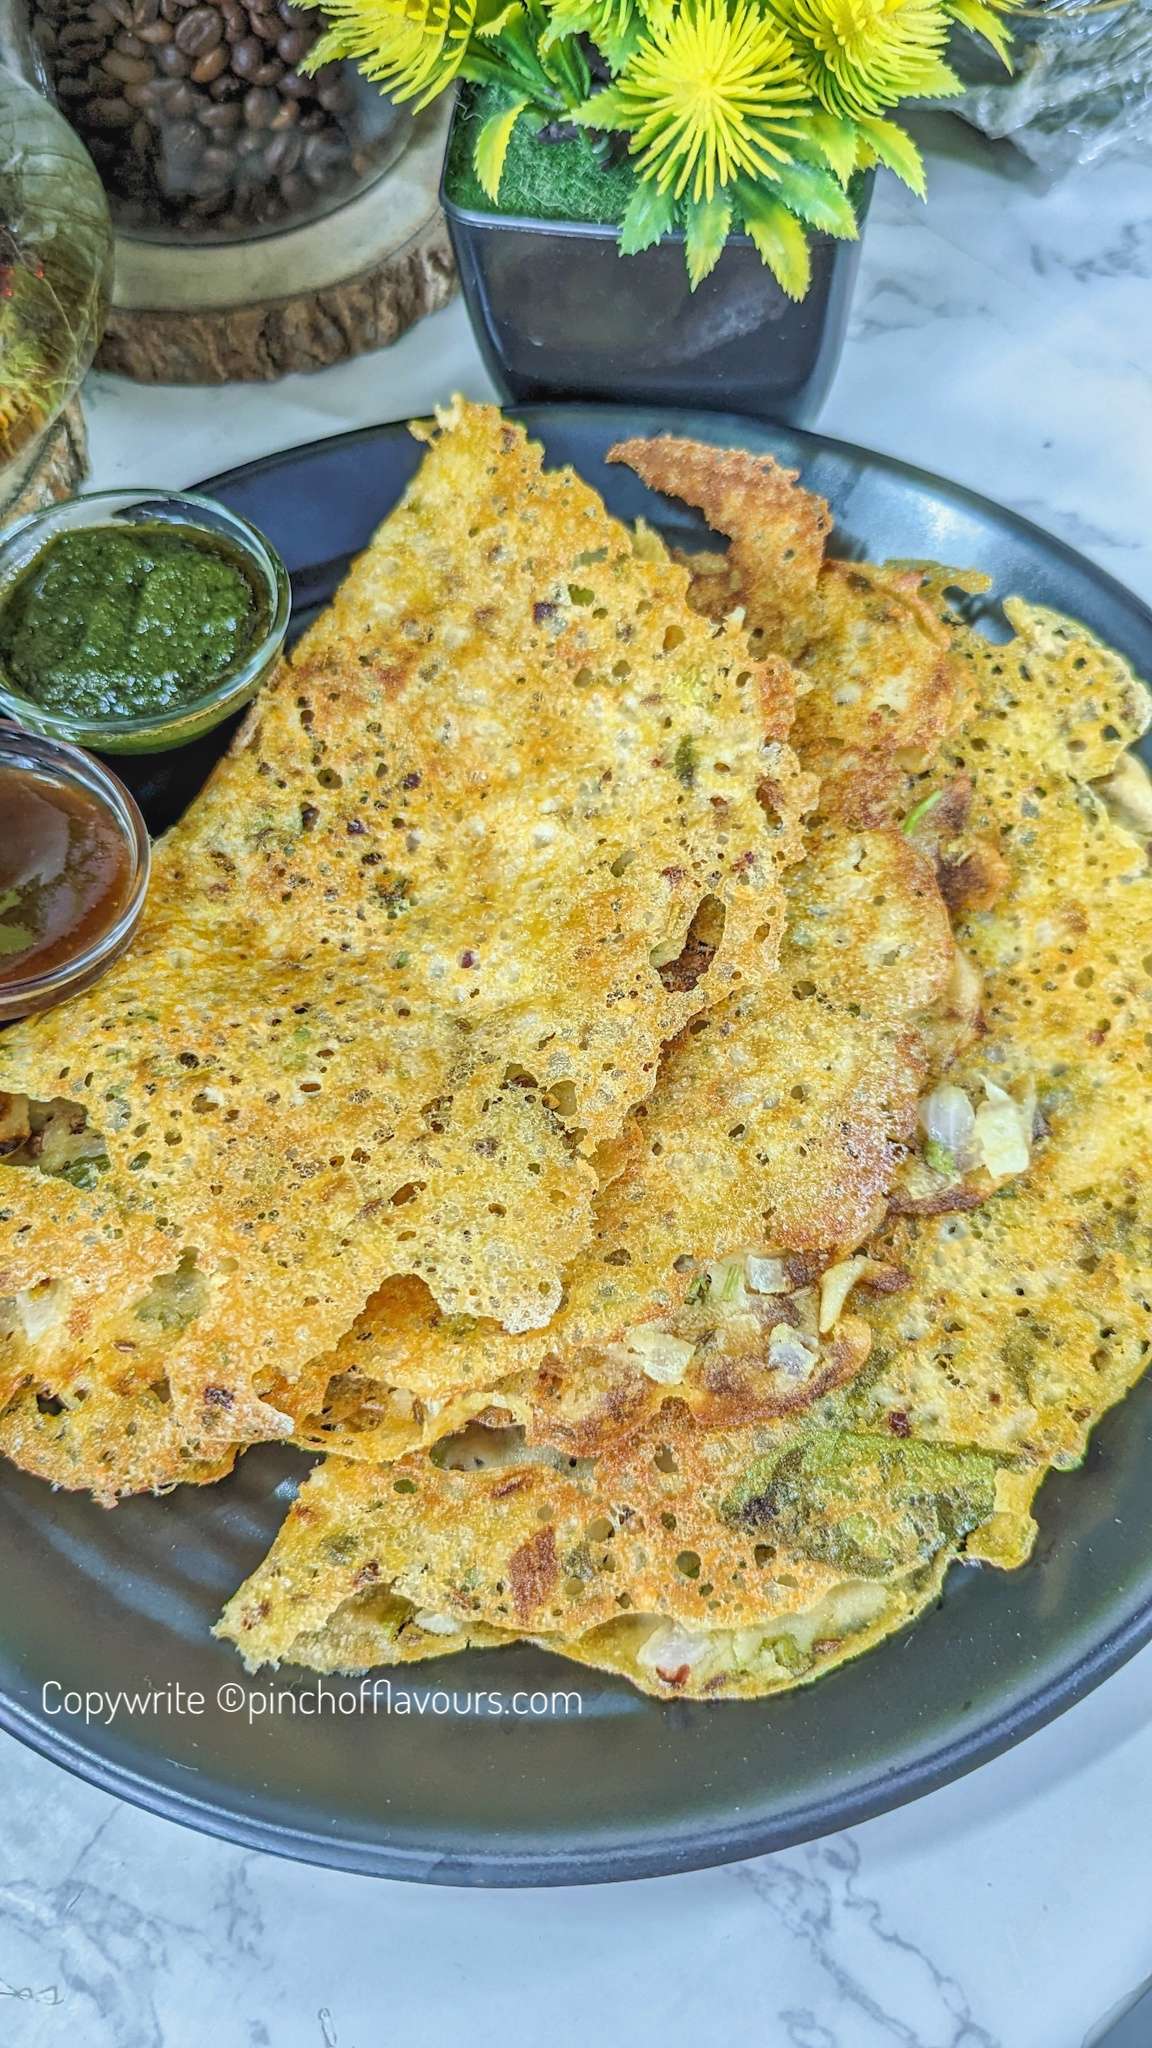
Instant Wheat Dosa | Easy Godhuma Dosa | Atta Dosa
Important Suggestion To Keep In Mind
- For the best results, it’s important to ensure that the tawa or skillet is hot before pouring the batter. This step is crucial to achieve the desired texture and flavor of the dosa.
- To create the desired net-like texture, pour the batter from a slight height onto the hot skillet. This technique helps in achieving the unique and characteristic appearance of the dosa.
- Due to its denser texture, whole wheat dosa requires a longer cooking time. It is important to wait until the base of the dosa is crispy and golden before flipping it. This ensures that the dosa is properly cooked on one side before being turned over.
- For best results, it is recommended to use a well-seasoned iron or cast iron pan when making these dosas. Alternatively, you can also use a thick-bottomed non-stick pan. Using such pans prevents the dosa from sticking to the surface, ensuring easy flipping and removal.
- It is crucial to maintain a thin-flowing consistency for the batter and avoid medium or thick consistency when preparing atta dosa. Please note that if the batter is not thin enough, the dosa may turn out soft instead of crisp. The amount of water added to the batter plays a significant role in determining the final texture of the wheat dosa.
Serving Suggestion
You can serve wheat dosa with a variety of delicious accompaniments such as coconut chutney, dosa podi, or your favorite chutney recipes like onion chutney, peanut chutney, tomato chutney, and more. These flavorful chutneys complement the taste of wheat dosa perfectly. Feel free to choose your favorite chutney to enjoy with your dosa.
Note: A rough estimate of nutrition is provided.

We Love to hear back from you and appreciate your success stories!
Have you tried this “Recipe”? Please feed us with your ★ ★ ★ ★ ★ star ratings and comments below.
Recipe Card
Print
Instant Wheat Dosa | Easy Godhuma Dosa | Atta Dosa
- Total Time: 25 minutes
- Yield: 4 people 1x
- Diet: Vegan
Description
Instant Wheat Dosa | Easy Godhuma Dosa | Atta Dosa| Instant wheat flour dosaLooking for a wholesome and instant breakfast recipe option? Our quick and easy Instant Wheat Dosa recipe is just what you need! Packed with nutrition and bursting with flavors, this dosa will satisfy your taste buds and keep you energized throughout the day. Follow our step-by-step guide to make this delectable dish in no time!
Ingredients
- 1 cup – Whole wheat flour
- 1/2 cup – Rice Flour
- 1 tablespoon – Yogurt plain or vegan
- 2 cups – Water or add as required
- 5 to 6 – Chopped curry leaves
- 2 tablespoons – Sooji/ Semolina
- 1 tablespoon – Jeera/Cummin seeds
- 1 medium – Sliced or chopped 1 medium onion
- 1/2 teaspoon – Finely chopped ginger (optional)
- 3 to 4 – Green chili chopped
- 1 pinch – Asafoetida (hing optional)
- 1 tablespoon – Red chili flakes
- 1/2 teaspoon – Jeera
- 1 teaspoon– Lemon juice
- 5 tablespoons – Coriander leaves chopped
- Olive Oil for frying
- Salt as required
Instructions
- In a mixing bowl, combine the wheat flour, rice flour, semolina (if using), and yogurt.
- Then gradually add 1 and 1/2 cup water while stirring to form a smooth batter.
- Mix well and make sure there should be no lumps.
- Now add onion chopped, cumin seeds, grated ginger, chopped green chili, coriander leaves, chopped curry leaves, red chili flakes, and salt to taste.
- Now again gradually add 1/2 cup water and mix well.
- The consistency should be slightly thinner than regular dosa batter.
- Cover the batter and allow the batter to rest for about 30 minutes to allow the flour to absorb the moisture.
- After 30 minutes open the lid and again mix.
- Now add olive oil or ghee to the skillet or tawa.
- Wipe with tissue paper.
- Pour a ladleful of the batter onto the center of the skillet and quickly spread it in a circular motion to form a thin dosa.
- You can make it as thick or thin as you prefer.
- Drizzle a little oil or ghee around the edges and middle of the dosa.
- Cook until the bottom turns golden brown and crisp. Mine too 6 minutes.
- Now flip the dosa using a spatula and cook for 2 minutes or so on the other side. Press it lightly with the spatula to ensure it cooks evenly.
- Once both sides are cooked to your liking, fold it and remove the dosa from the skillet and transfer it to a serving plate.
- Repeat the process with the remaining batter, greasing the skillet before making each dosa.
- Serve the instant wheat dosa hot with chutney, sambar, or any accompaniment of your choice.
Recommended Products
As an Amazon Associate and member of other affiliate programs, I earn from qualifying purchases.
Notes
- For the best results, it’s important to ensure that the tawa or skillet is hot before pouring the batter. This step is crucial to achieve the desired texture and flavor of the dosa.
- To create the desired net-like texture, pour the batter from a slight height onto the hot skillet. This technique helps in achieving the unique and characteristic appearance of the dosa.
- Due to its denser texture, whole wheat dosa requires a longer cooking time. It is important to wait until the base of the dosa is crispy and golden before flipping it. This ensures that the dosa is properly cooked on one side before being turned over.
- For best results, it is recommended to use a well-seasoned iron or cast iron pan when making these dosas. Alternatively, you can also use a thick-bottomed non-stick pan. Using such pans prevents the dosa from sticking to the surface, ensuring easy flipping and removal.
- It is crucial to maintain a thin-flowing consistency for the batter and avoid medium or thick consistency when preparing atta dosa. Please note that if the batter is not thin enough, the dosa may turn out soft instead of crisp. The amount of water added to the batter plays a significant role in determining the final texture of the wheat dosa.
- Prep Time: 5 minutes
- Cook Time: 20 minutes
- Category: Breakfast
- Method: Stove-Top
- Cuisine: South Indian
Nutrition
- Serving Size: 4 people
- Calories: 312Kcal
- Sugar: 5g
- Sodium: 598mg
- Fat: 2g
- Saturated Fat: 1g
- Trans Fat: 0g
- Carbohydrates: 65g
- Fiber: 8g
- Protein: 10g
- Cholesterol: 12mg
Note: A rough estimate of nutrition is provided.

We Love to hear back from you and appreciate your success stories!
Have you tried this “Recipe”? Please feed us with your ★ ★ ★ ★ ★ star ratings and comments below.
You can also FOLLOW me on FACEBOOK, INSTAGRAM, and PINTEREST for more fabulous recipes and updates.
*SOME OF THE LINKS IN THIS POST ARE AFFILIATE LINKS AND WE WILL RECEIVE A COMMISSION IF YOU MAKE A PURCHASE AFTER CLICKING ON OUR LINK. THANK YOU FOR SUPPORTING OUR WORK HERE AT Pinchofflavours!




Leave a Reply